In December I posted a quickie basting tutorial and I asked if anyone would like me to do a binding tutorial, several people asked and it is time for me to deliver!
This is a picture heavy tutorial – my apologies!
The steps that I am going to detail in this tutorial will work for virtually any machine quilt binding that you will do.
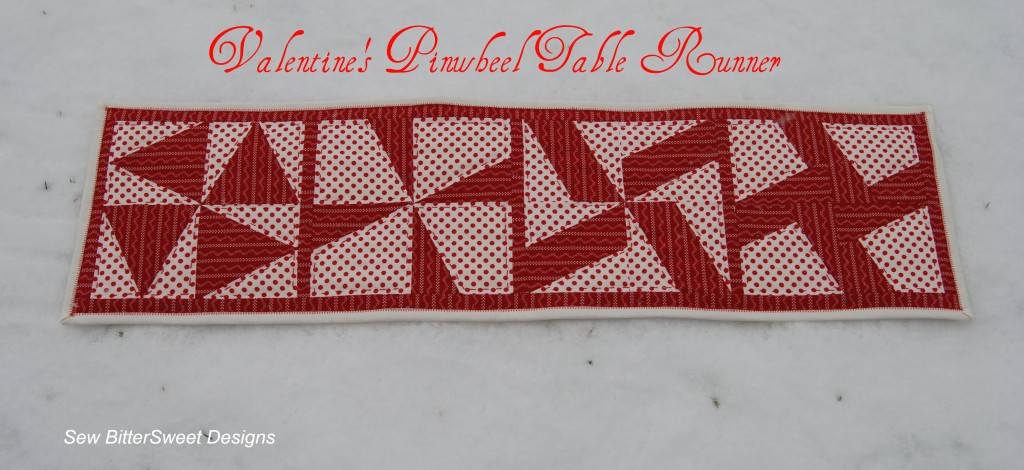
For the Valentine Pinwheel Table Runner you will need three strips measuring 2.5” x WOF (width of fabric) – I am using solid fabric for my border. If you are using a patterned fabric make sure you sew your strips right sides together.
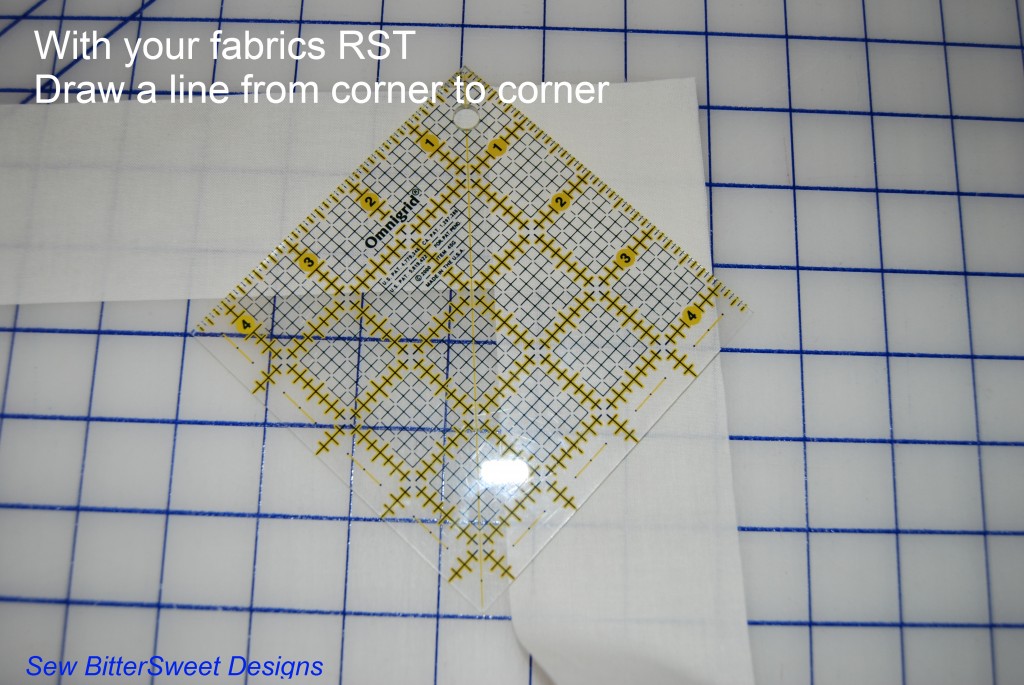 Placing fabric corner to corner, right sides together, take a ruler and draw a line with an air or water soluble pen/pencil from corner to corner.
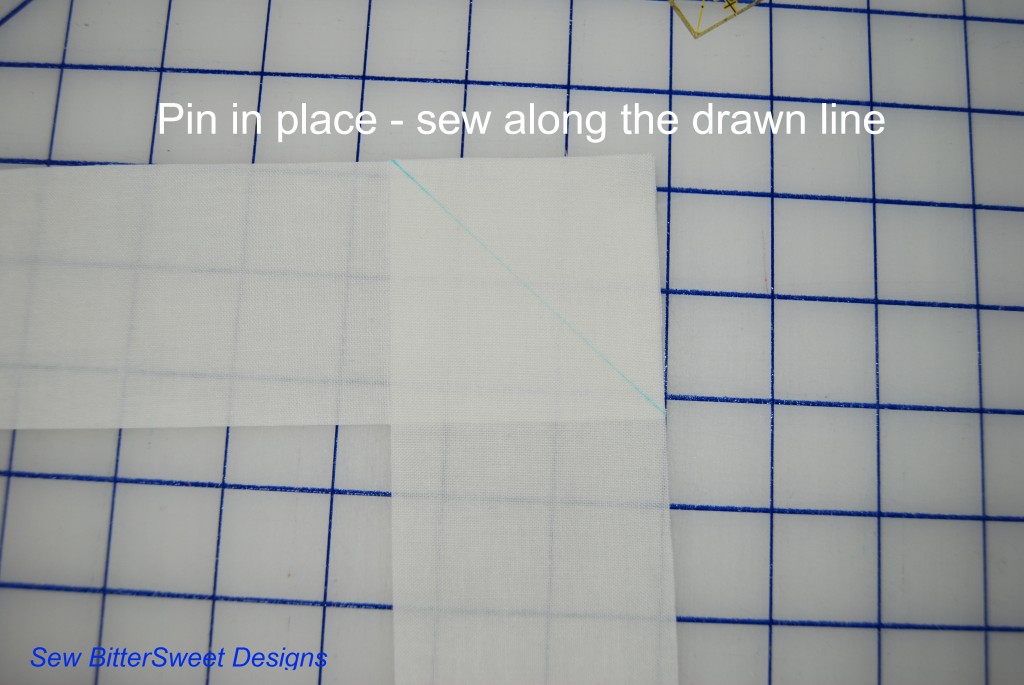
Pin in place and sew along the line you drew.
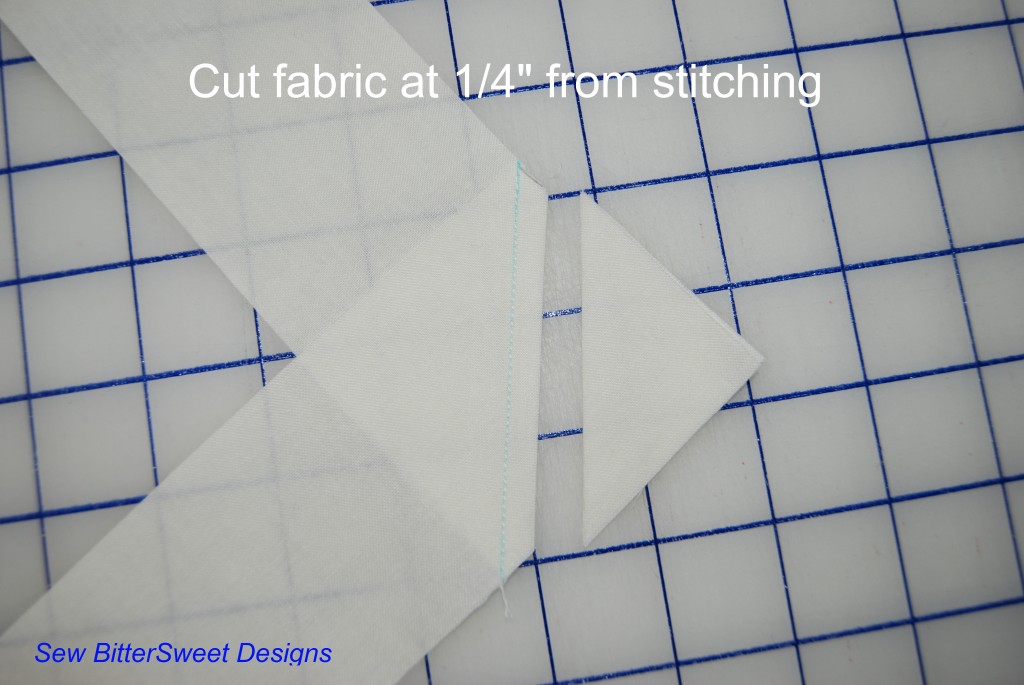
Place your ruler with the ¼” mark on stitched line – trim triangle off
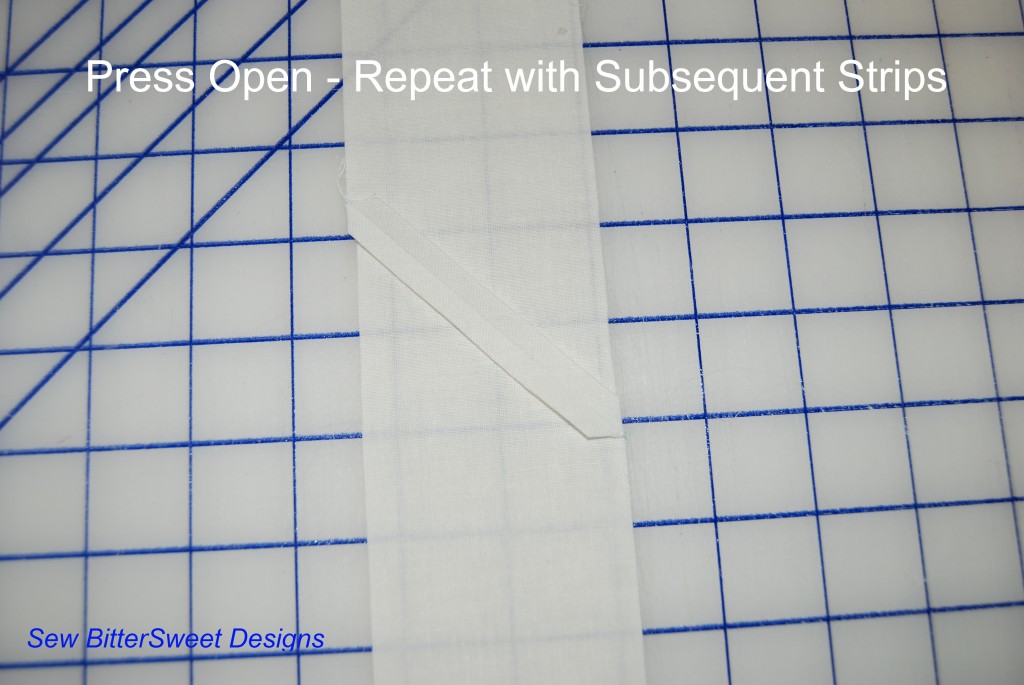
Press your fabrics open and repeat until all your strips are sewn together
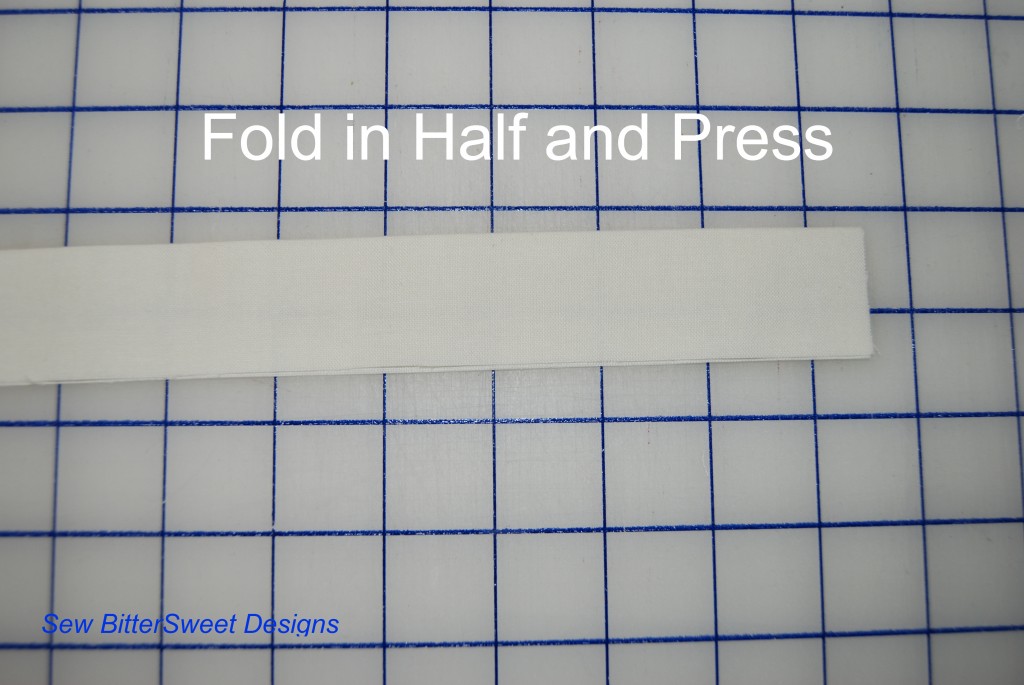
Fold your strip in half and press along the entire strip.
Note Before: when you are going to do the entire binding on the machine – sew your binding to the back first. If you plan on hand sewing your binding down – sew your binding to the front first!
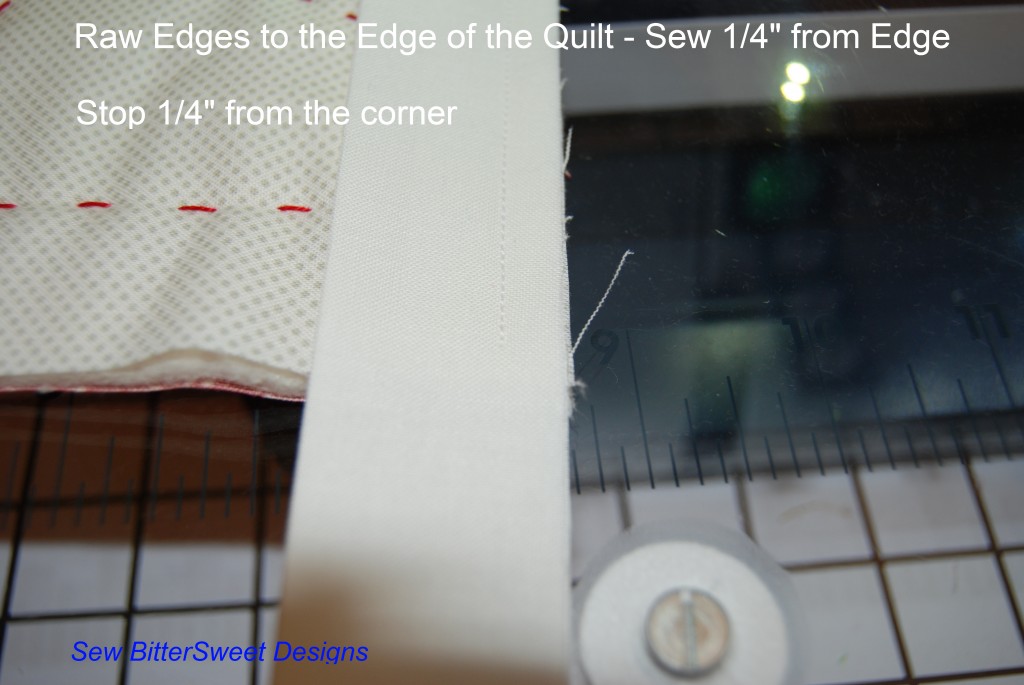
Place the raw side of the strips to the quilt edge. I like to start in the center of the quilt and have an excess of 8-12 inches of strip when you start sewing.
Sew the strip to the quilt with a ¼” seam. Stop sewing when you are ¼” from the corner. (I like to measure with a tape measure and place a pin so I know where to stop).
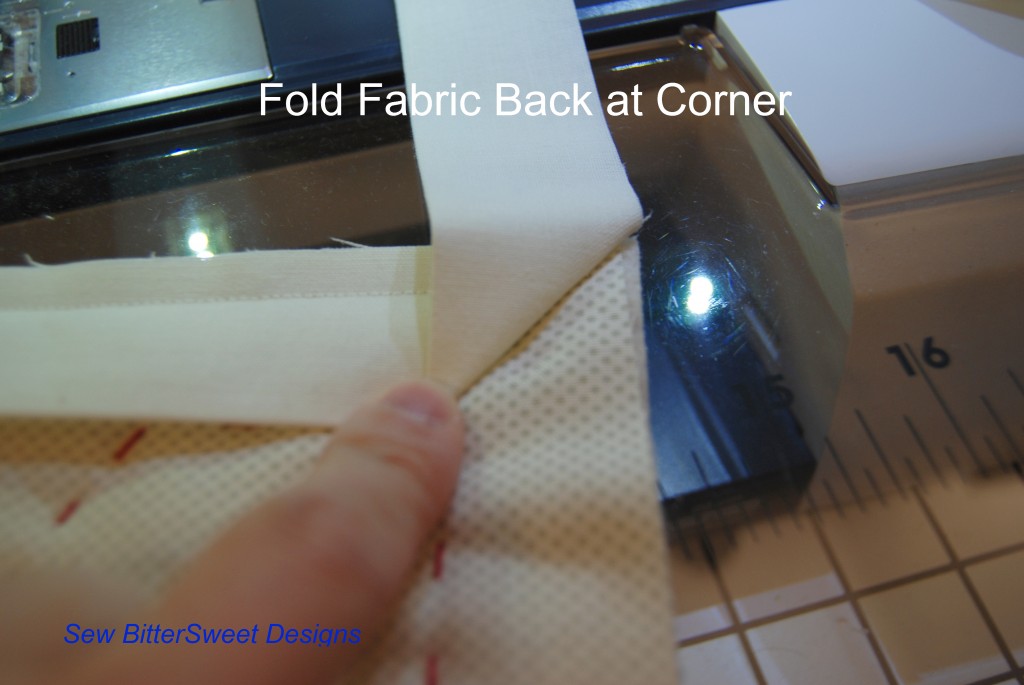
When you reach the corner, you will want to fold the fabric back (refer to picture)
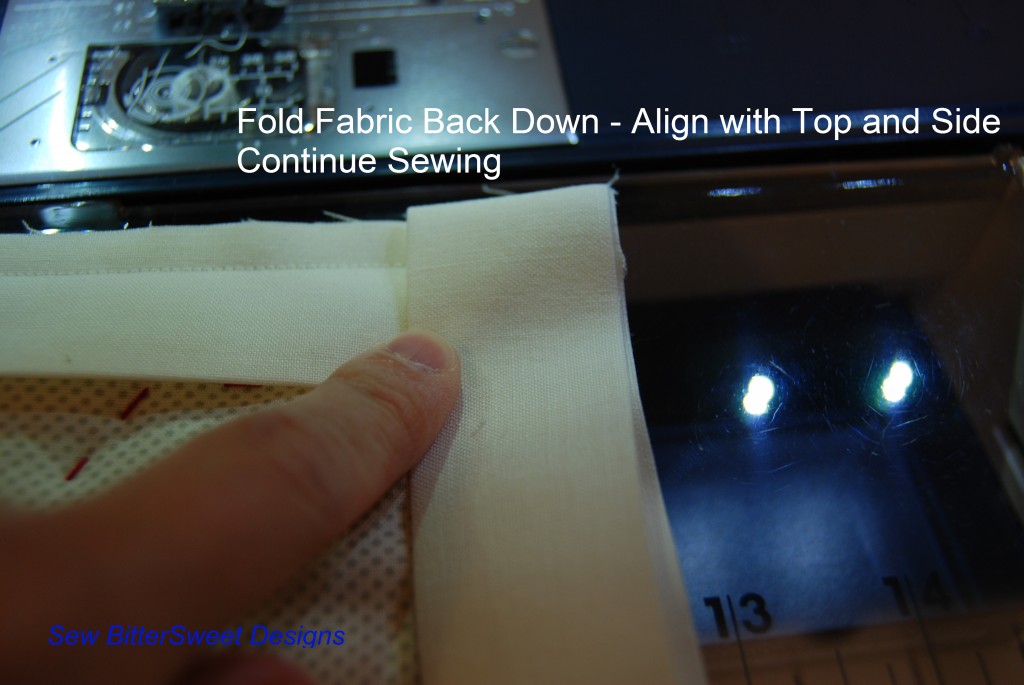
The fold your fabric back down – align it with the next edge you will be sewing on (you are creating your mitered corners)
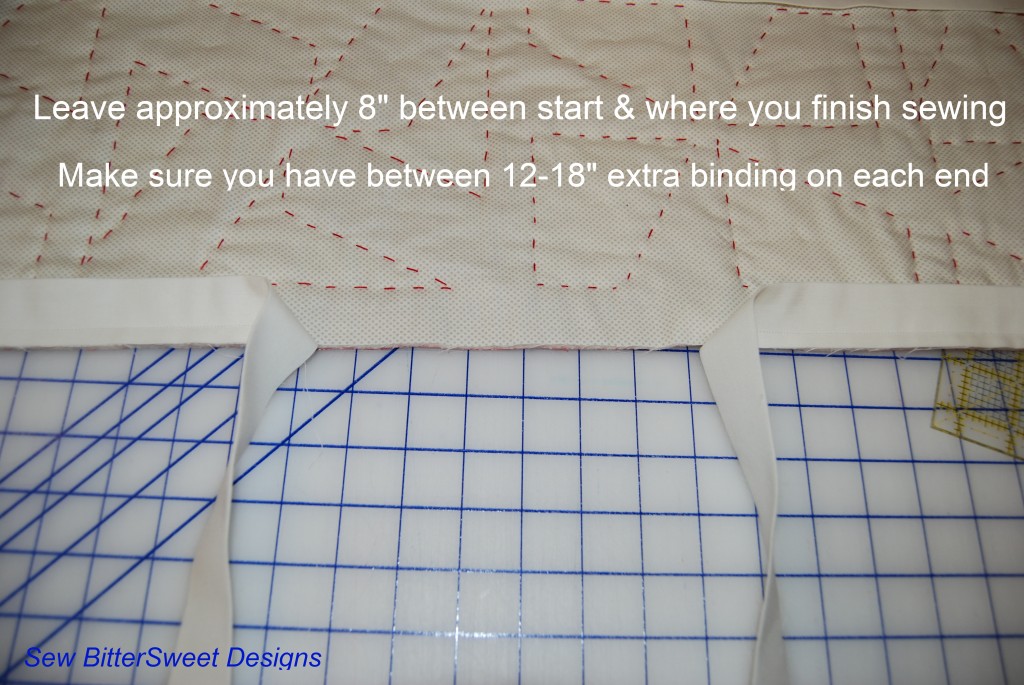
Repeat the last two steps at each corner. Stop sewing when you are 8” from where you started.
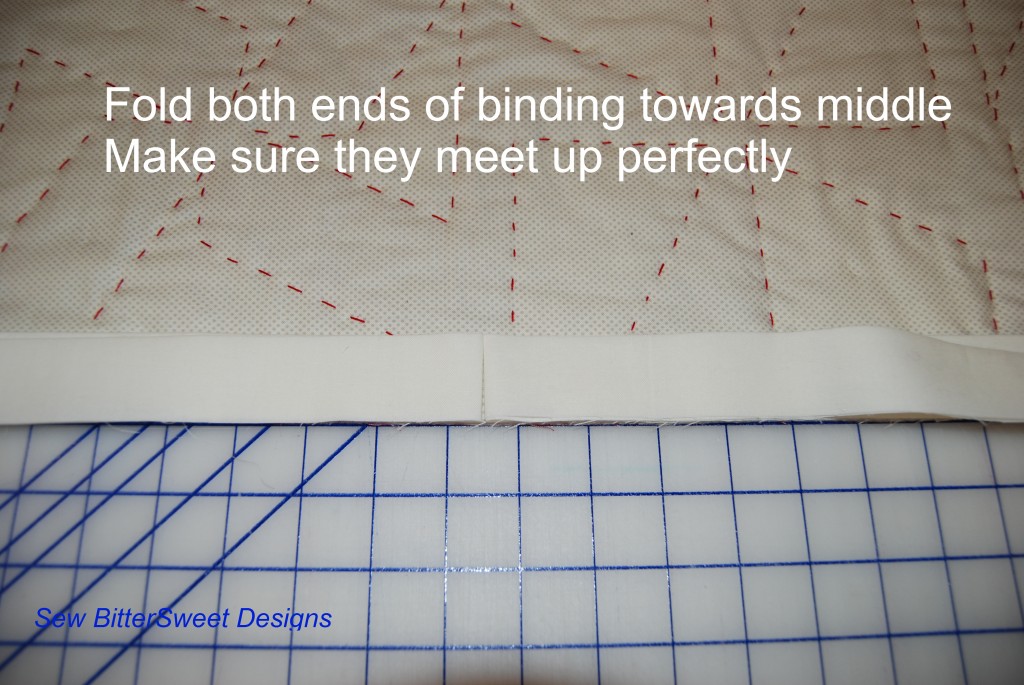
Fold the strips in towards each other – meeting in the middle, fold the strips back on top of themselves.
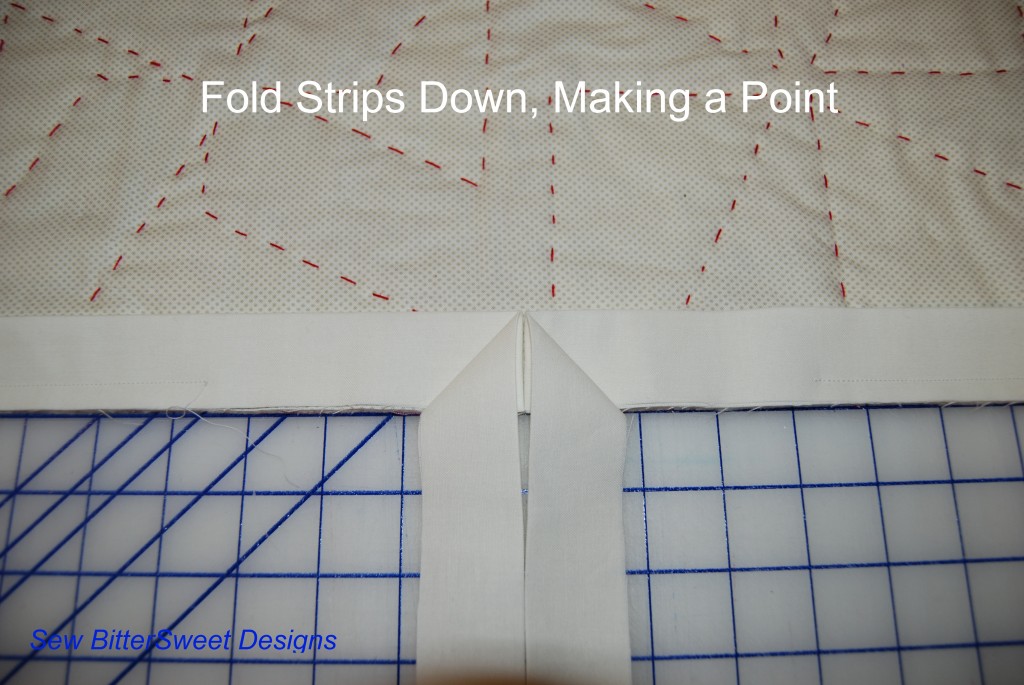
Fold the strips down, making a point
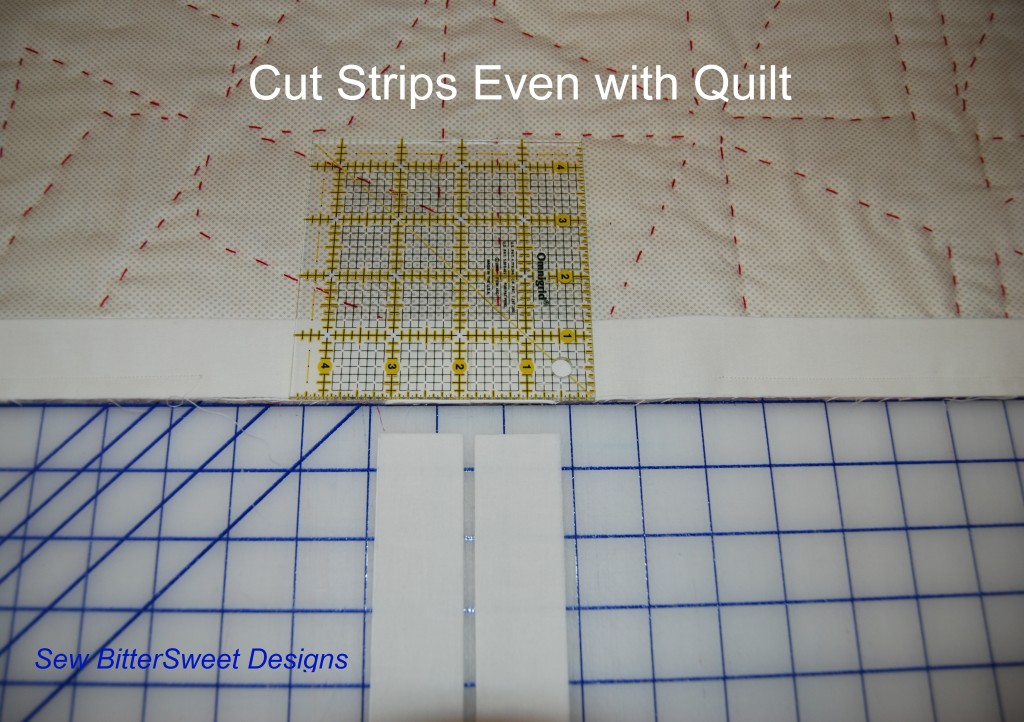
Using a quilting ruler – place it on the edge of the quilt and cut off the excess fabric from the binding strips.
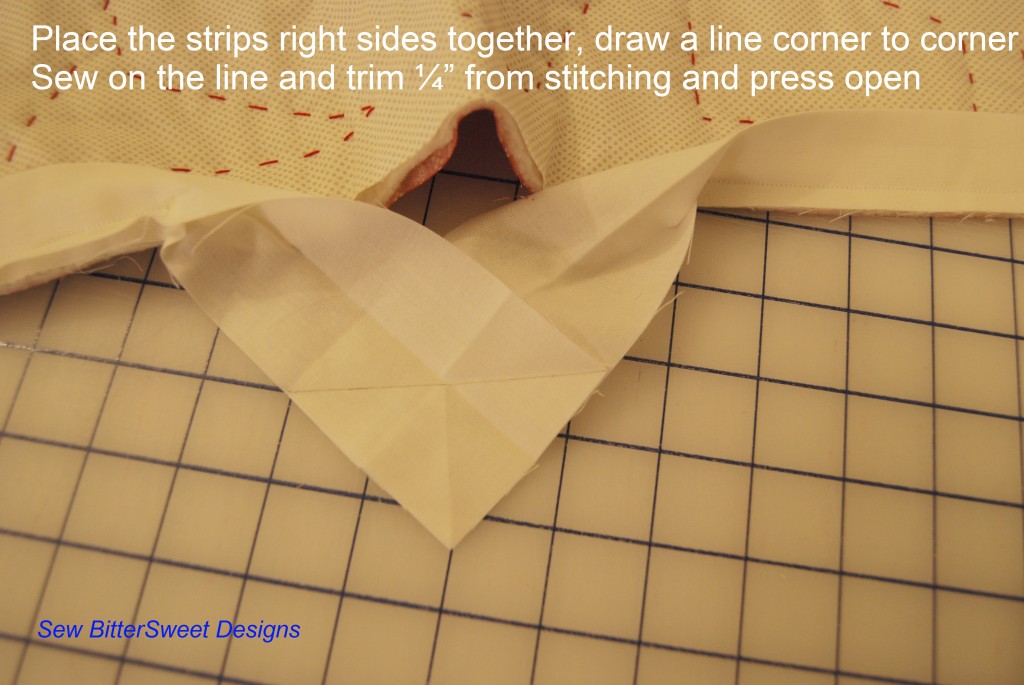
Place the strips right sides together, draw a line corner to corner, sew on the line and trim ¼” from stitching and press open
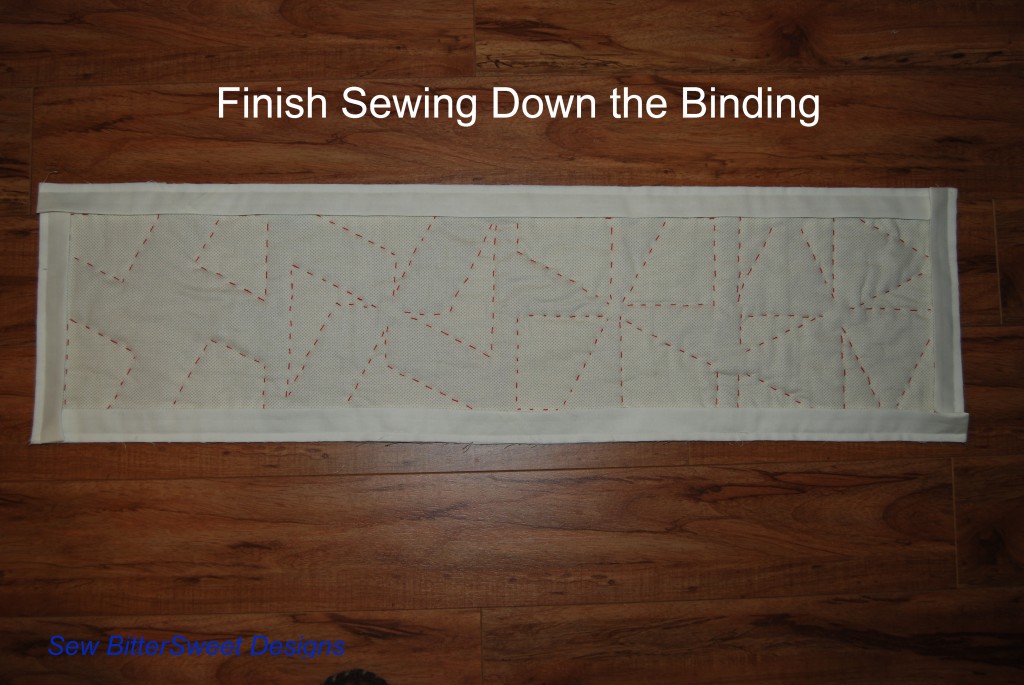
Finish sewing down your binding
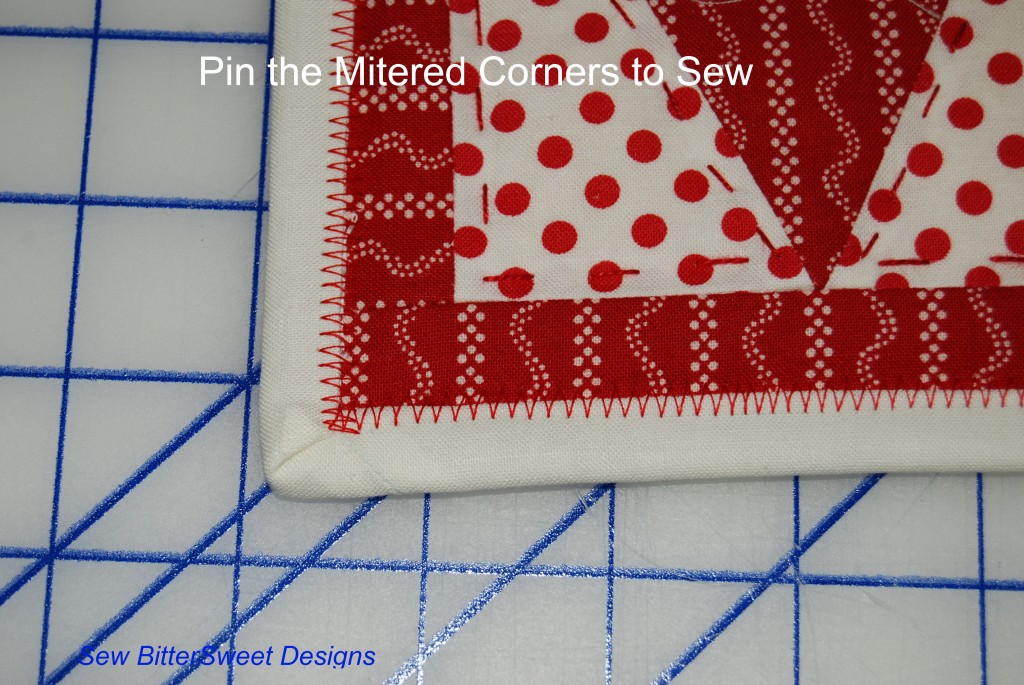
Fold your binding over to the front, at this point you can pin or not pin (I start out pinning usually and then end up just folding the fabric over with my fingers). Pick a decorative stitch or straight stitch. NOTE: Make sure when you fold your fabric over that you are covering the stitching from when you attached the binding to the back!
I like to pin my corners down until I am ready to sew them (literally right until the needle is about to hit the pin). I also leave my needle down, lift my foot and turn at the corner rather than starting and stopping at each corner.
Congratulations you have just machine sewn your binding!
![]() NOTE: Don’t forget, I am one of the bloggers who is going to lose Google Friend Connect in March 2012, please take a moment and follow me via Bloglovin’, Facebook, RSS or networked blogs. You are important to me and I want to be able to stay in contact with you! Check my side bar for all the best ways to stay in touch after GFC goes bye bye!
NOTE: Don’t forget, I am one of the bloggers who is going to lose Google Friend Connect in March 2012, please take a moment and follow me via Bloglovin’, Facebook, RSS or networked blogs. You are important to me and I want to be able to stay in contact with you! Check my side bar for all the best ways to stay in touch after GFC goes bye bye!

NICE! I’ve never seen the binding connected like that, I will have to give it a try 🙂 Thanks!
Getting my binding ‘just right’ at the finish is always my big problem. I will try your method next time.
great tutorial I usually just hand sew mine down, but this would work great for smaller projects!
OK. Maybe now I have the knowledge to try! Thanks so much for doing the tutorial. You explained everything in detail. I have printed the pages – now this weekend I will try. Thanks, Anna
Oh man…I totally could have used your trick for joining the end of the two parts of the binding a long time ago! Totally using your method next time! 🙂
Great tutorial. I’ve never seen the attaching of the ends done like this before. I will certainly be giving that a try next time. Looks a lot easier than my current method. Thank you. Elly
I think I’ve got it! Thanks for the great tutorial. And, you didn’t have too many pictures. I needed everyone!
Awesome tutorial Melissa. I’ve never seen the joining of the ends done that way, but just tried it and OMG…………so easy. Also inspired me to do my first all machine sewn binding……turned out perfect. And I have a “FINISH” for 2012!! thanks to you!
Thank you for this. I’ve never seen the ends attached this way – it’s a great method! You’re a sweetie for sharing.
I like this tutorial. I’m going to repost it on my blog, if you don’t mind. I never have used your technique for joining the ends. I usually just lap them over. This will be much neater. Thanks for a very informative post!
Great tutorial
Thank you for this tutorial!! I have been referring to the part for joining the ends for three projects now and it has worked out perfectly every time!! I set up my lap top right beside my sewing machine – no messing up!!