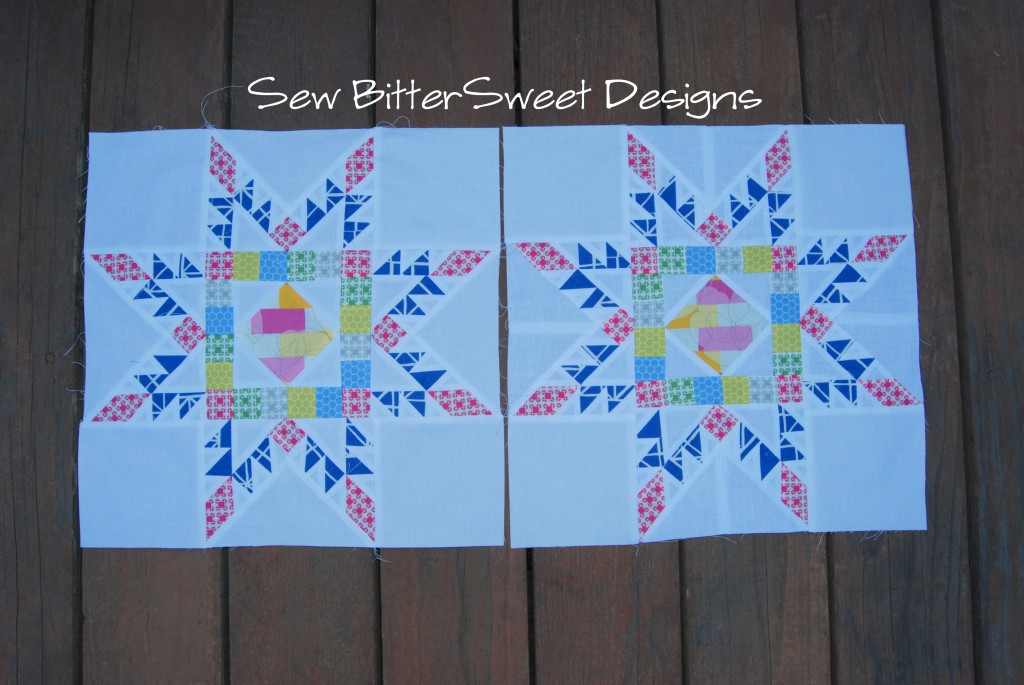
Let’s start out with a little disclaimer…this block looks intimidating and scary, but once you break it into small sections, it really isn’t that hard. Especially if you use the bias strip piecing method for the HSTs – I am sending you to 2 fabulous tutorials.
I am going to show this tutorial in 2 parts, cutting with links for the HSTs and then assembling on Tuesday. I think that will be a good break, as cutting takes me a good while.
Finished block size – 15.5”x15.5”
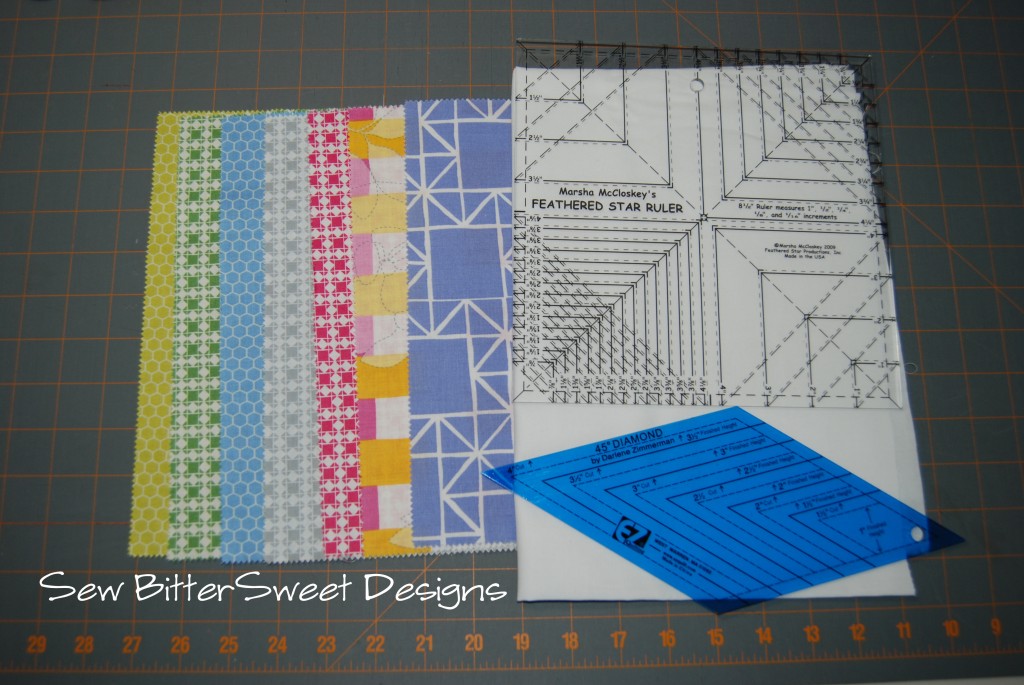
You will need:
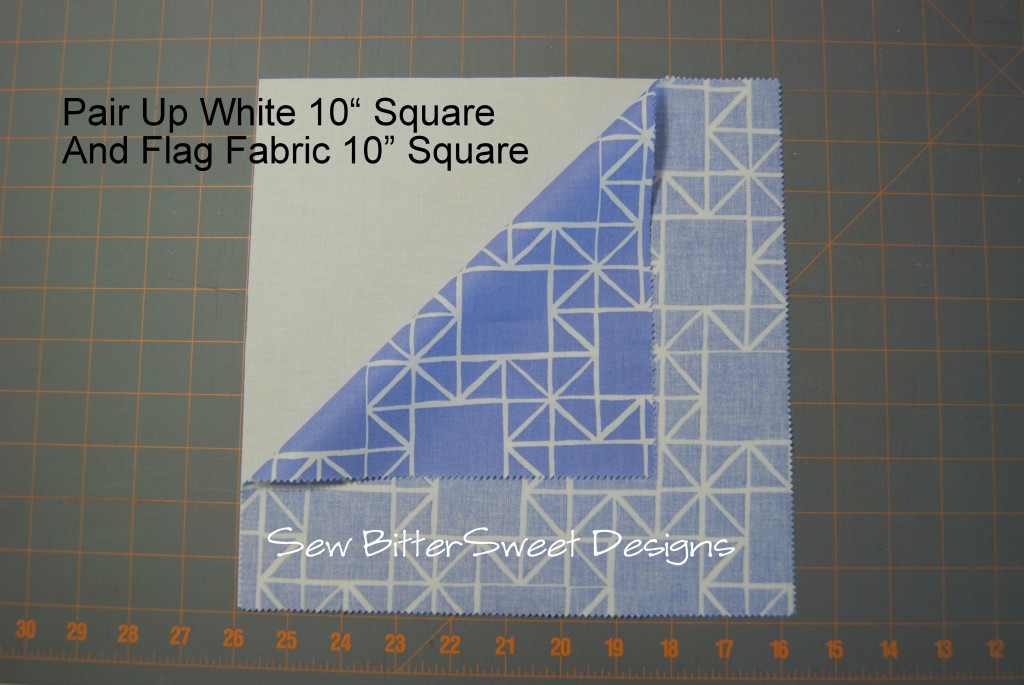
2 Squares: 10×10” of focus fabrics
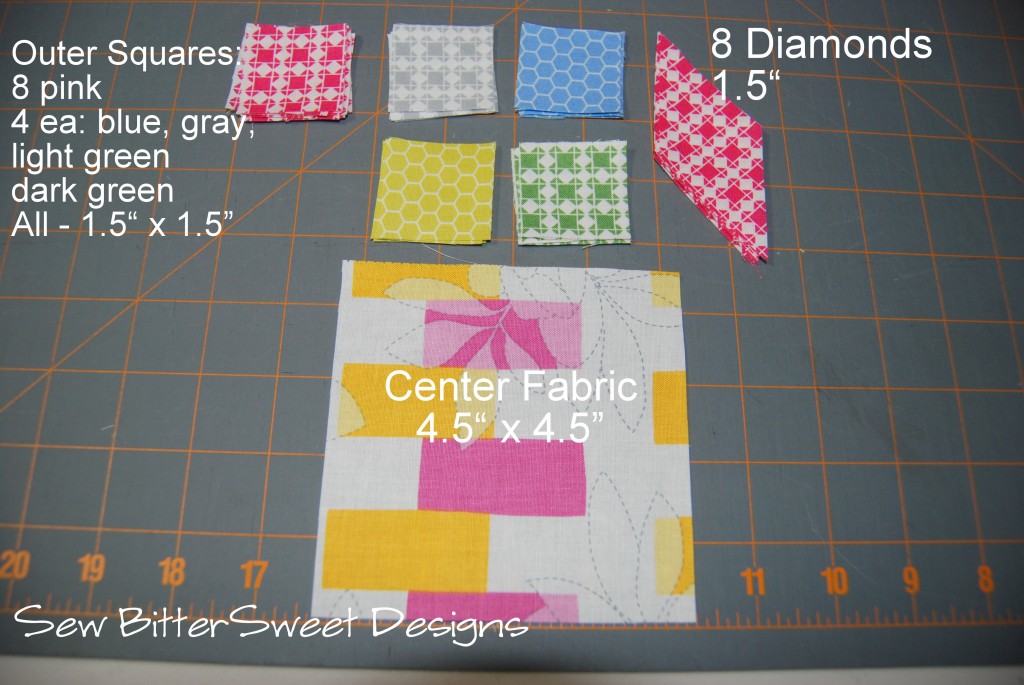
Scraps from 4 different fabrics
Peekaboo fabric for center – 4.5″ square
White Background fabric
Sewing Machine
10×10 inch quilting ruler
Quilting Ruler with 45⁰ lines on it
Nice to have but not necessary: 45⁰ Ruler by EZ Quilting or Marsha McCloskey Feathered Star Ruler
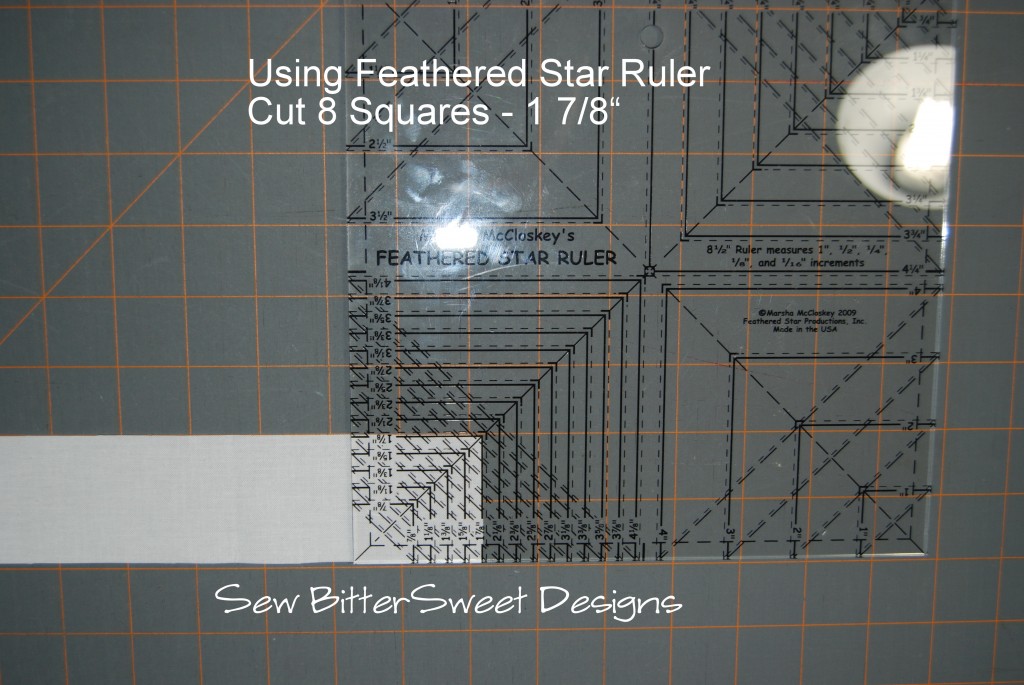
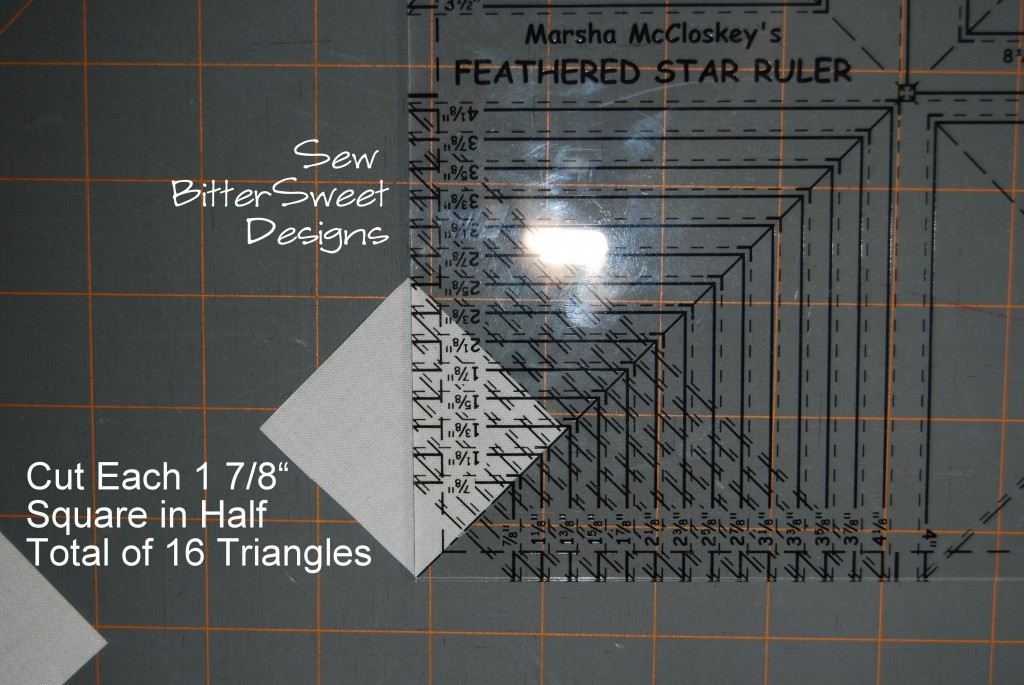
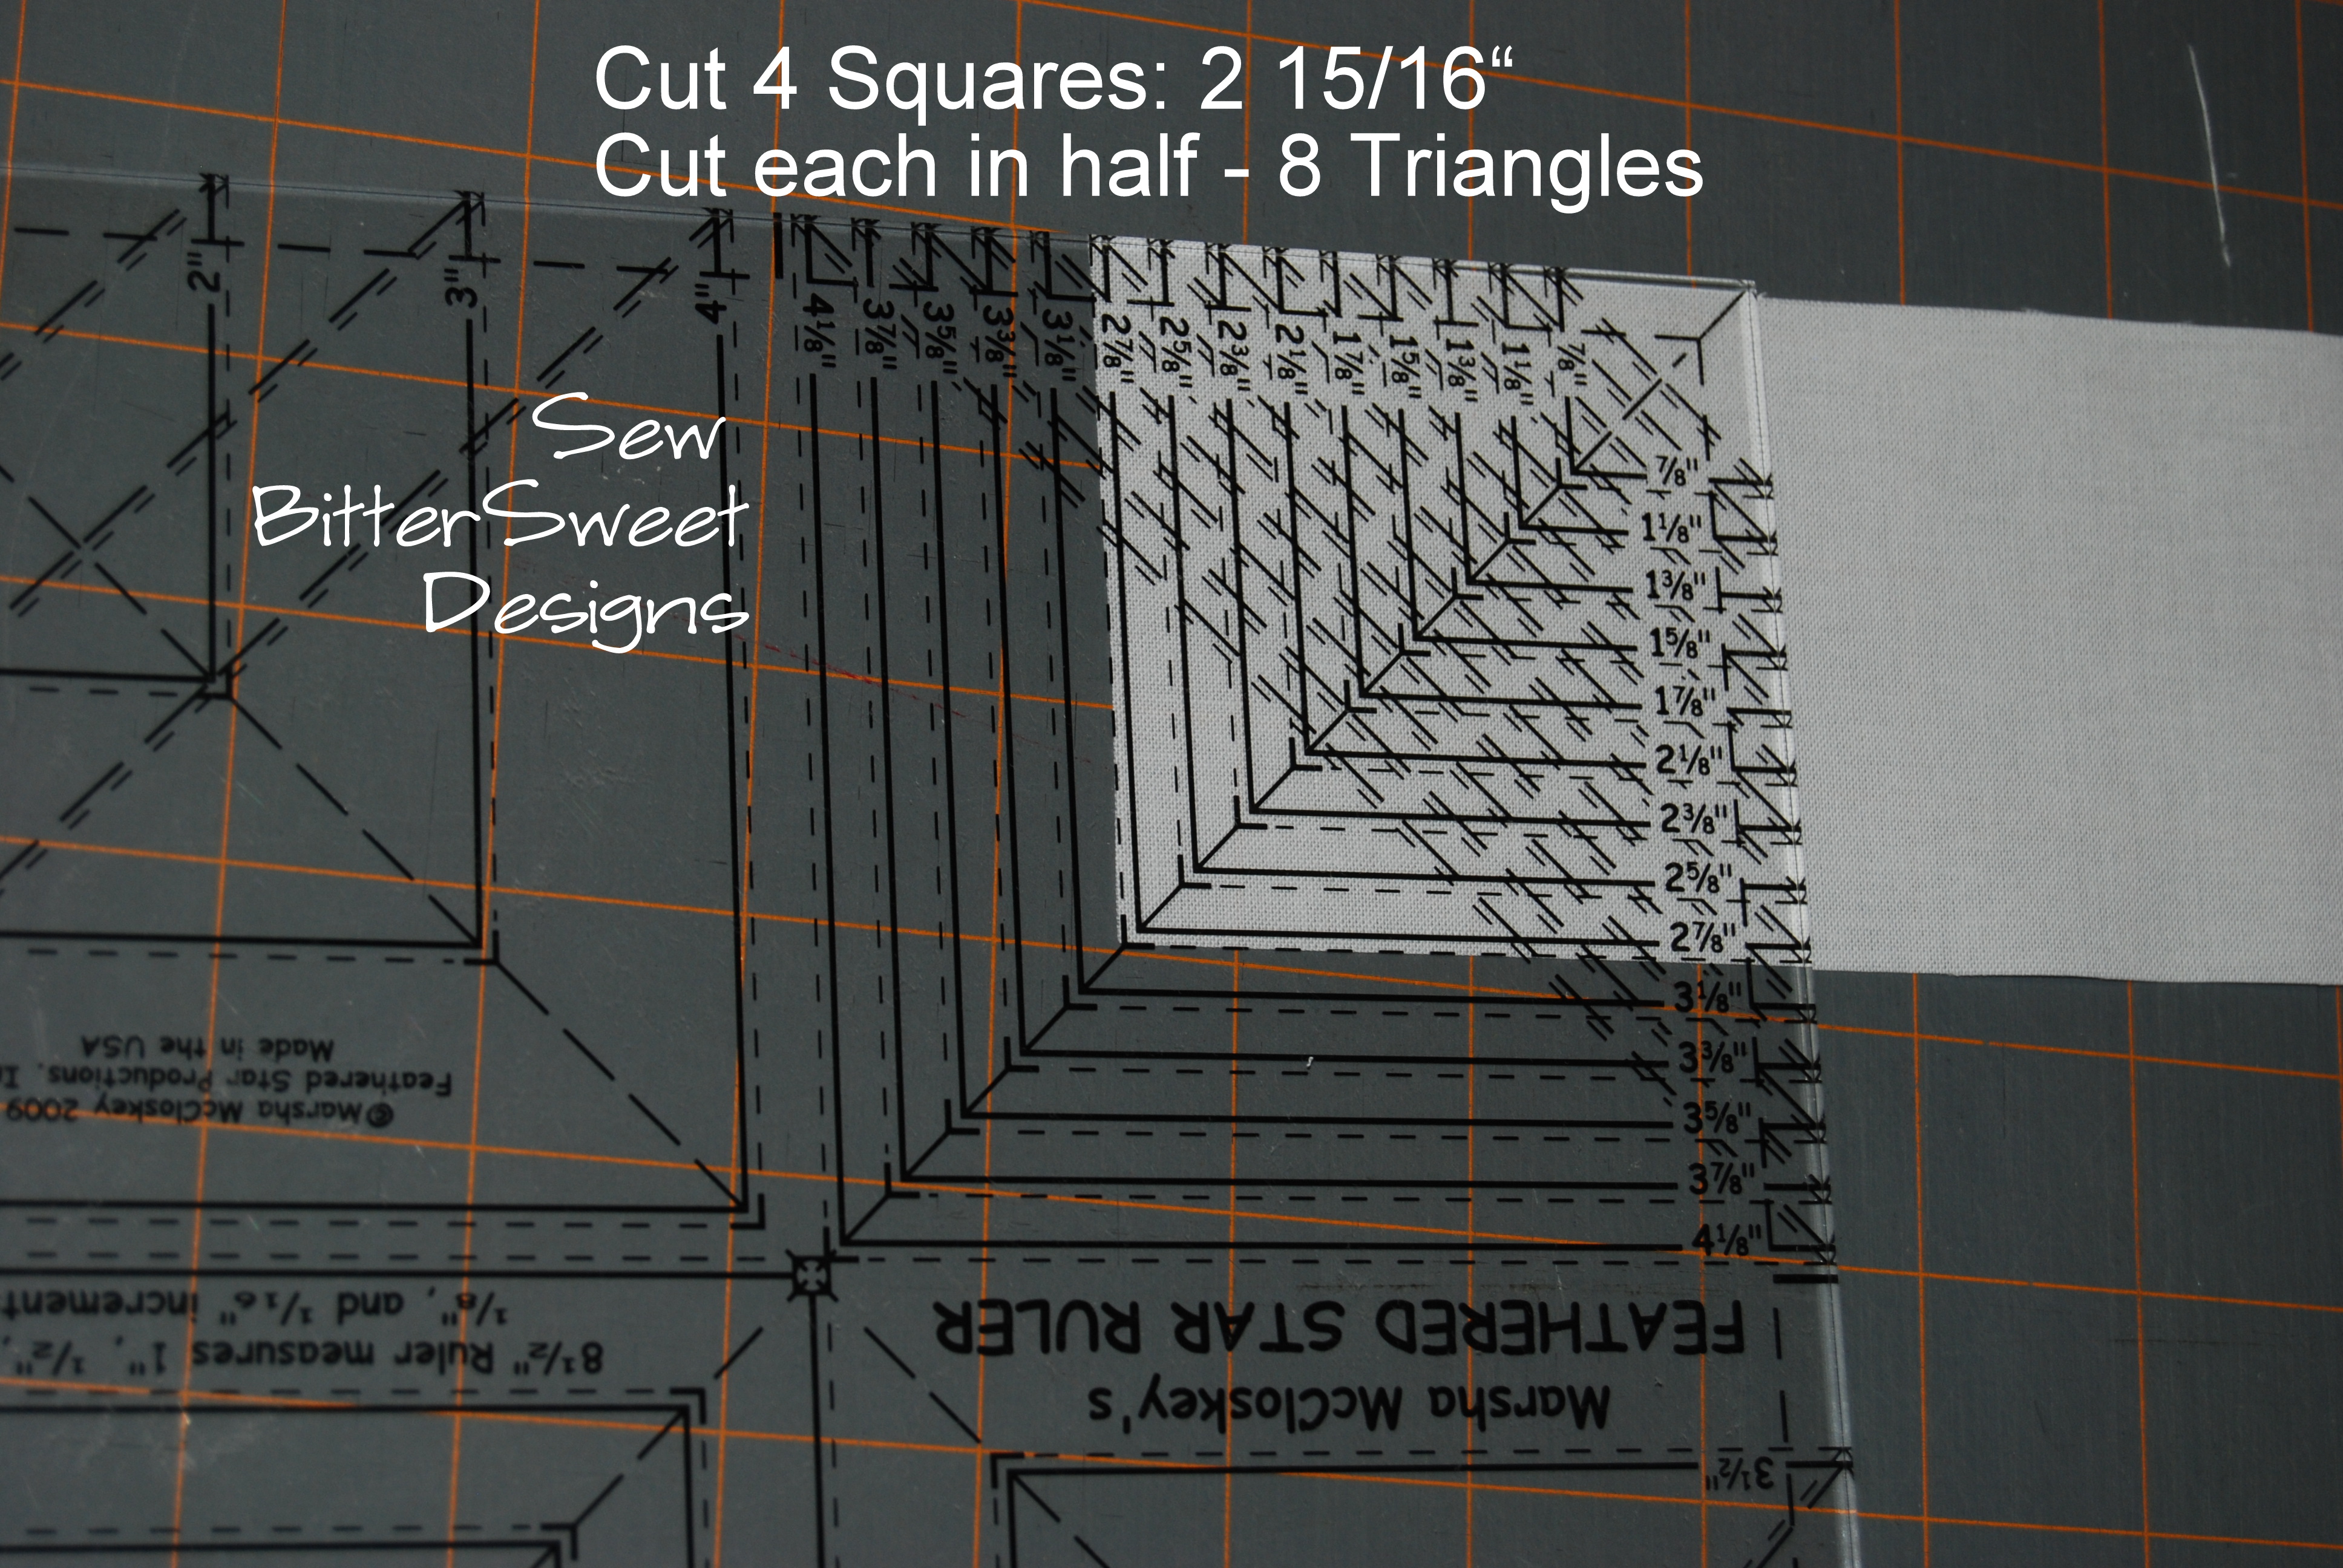
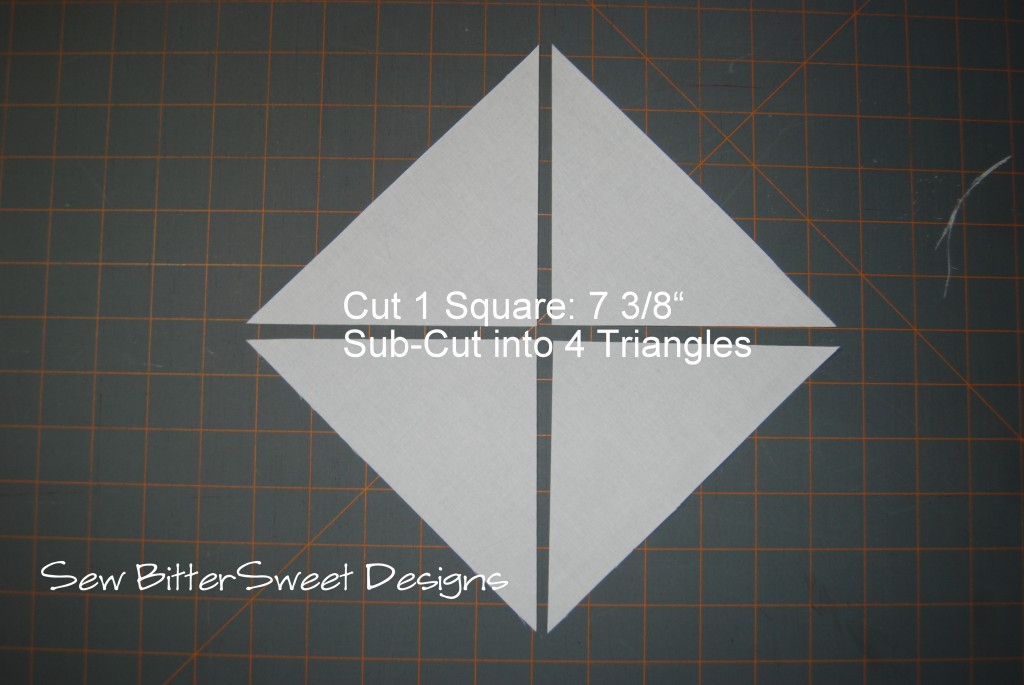
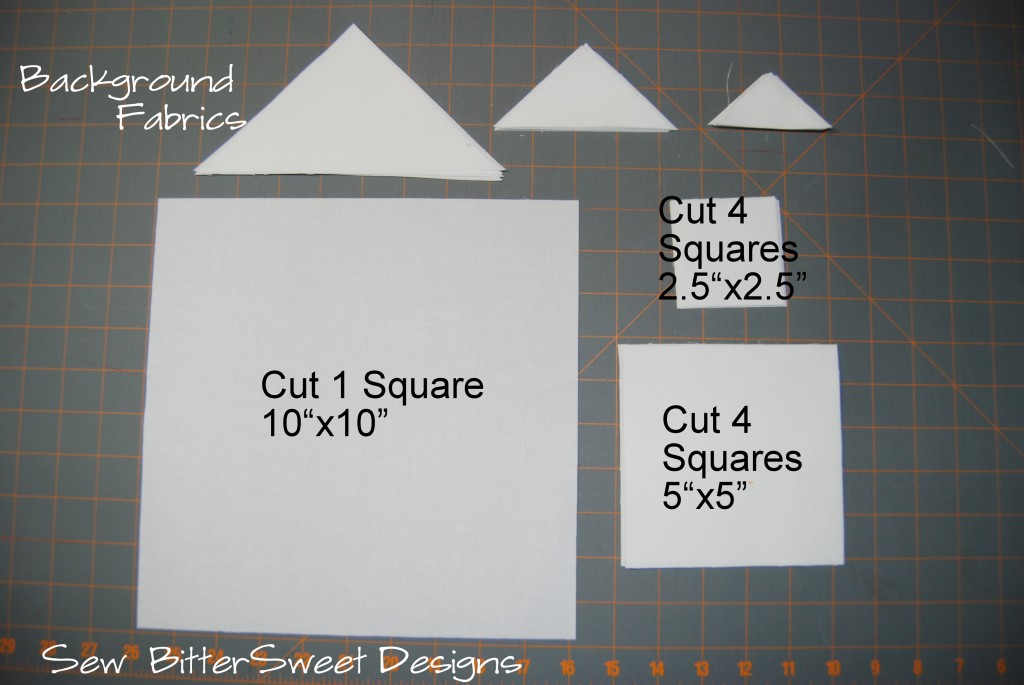
Cutting White Fabrics: Everything is pictured with the Feathered Star Ruler – but you can easily cut these with the 10” ruler listed above.
Using Larger 10×10 ruler to cut next one:
Simple Squares
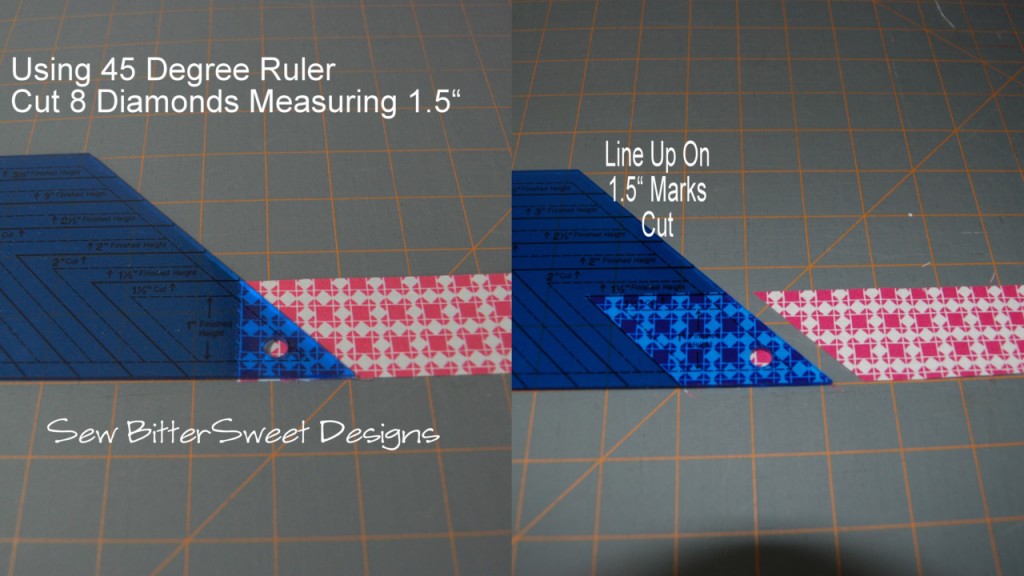
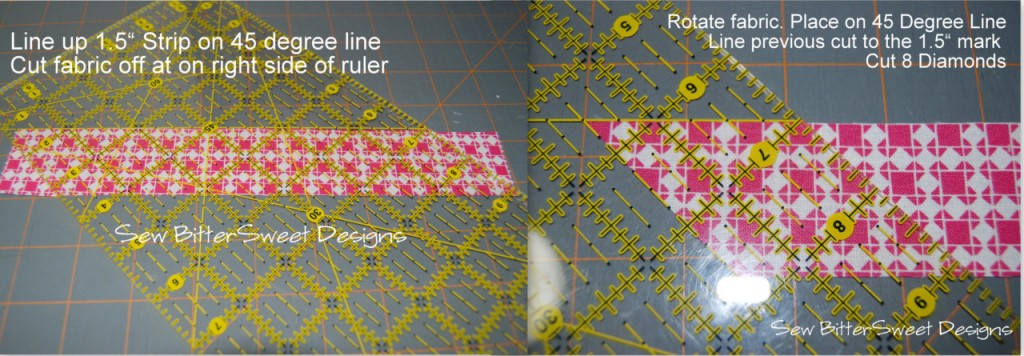
Using 45⁰ Ruler – cut diamond shapes – 8 total
Using standard quilting ruler marked with 45⁰ markings:
Cutting for center square:
Half Square Triangles (HSTs):
I used the Bias Strip Piecing method to assemble my HSTs. I learned this method from 2 fabulous tutorials. One by Erin at One Piece at a Time and the other by Molly at It’s Molly’s Place (you will need to scroll down a bit to get to the triangles).
For this block you will need 32 HSTs measuring 1.5”. You will use the two 10”x10” squares for this – the part that is confusing from both tutorials is how wide to cut your strips – follow their method for cutting and sewing and cut your strips 2” wide.
Come back tomorrow and I will show you how to put it all together! And don’t forget to enter the Fat Quarter Shop giveaway for a Layer Cake of Quilt Blocks – which is what I am using to make my feathered stars!

I have 3 pieces from a layer cake laying in my stash, I might just have to dig them out. I have to have something else laying around that will ‘coordinate’ with them…
Need to try this!! Thanks for breaking it down. 🙂
Yay!! Thanks for doing a tutorial! I’m so excited to try this – I need to work up my bravery though 🙂
Way too many things on my list already,but this looks way cool!
Very easy looking from your pictures! Thanks, and I can hardly wait for the second part.
Love your blocks! I might have to try this if I ever get caught up!
you are making it look easier. How big is the block? Did I miss that somewhere?
oh, I read it again..I see the size is 15.5″ square.
Great tutorial Melissa and what a fantastic ruler!