This post was originally a guest post over at Quilter in the Gap as part of the 3rd quarter wrap up for the Finish-A-Long. I thought it might be good to re-post it now as the days left until Christmas are quickly dwindling. This tutorial will show you how to breathe new life into a leftover quilt block.
_______________________________________________________________________
Today I have a fun pillow tutorial for you. I am calling it the “Leftovers Pillow”. I thought this project couldn’t be more perfect for the Finish-A-Long, this project, with the exception of the pillow form, was made entirely from leftovers from projects I’ve made this quarter!
For this tutorial I will not be giving you measurements, aside from seam allowances, because I want you to know that you can make this pillow with ANY SIZE block!
Supplies:
- Leftover Quilt Block
- Leftover Strips for block border
- Leftover batting from previous quilt (at least 2.5” larger than block on all sides)
- Leftover Muslin from quilt backing
- Leftover Scrap for Zipper – 2” x 4”
- Zipper – leftover from a purse project that ended up not needing a zipper
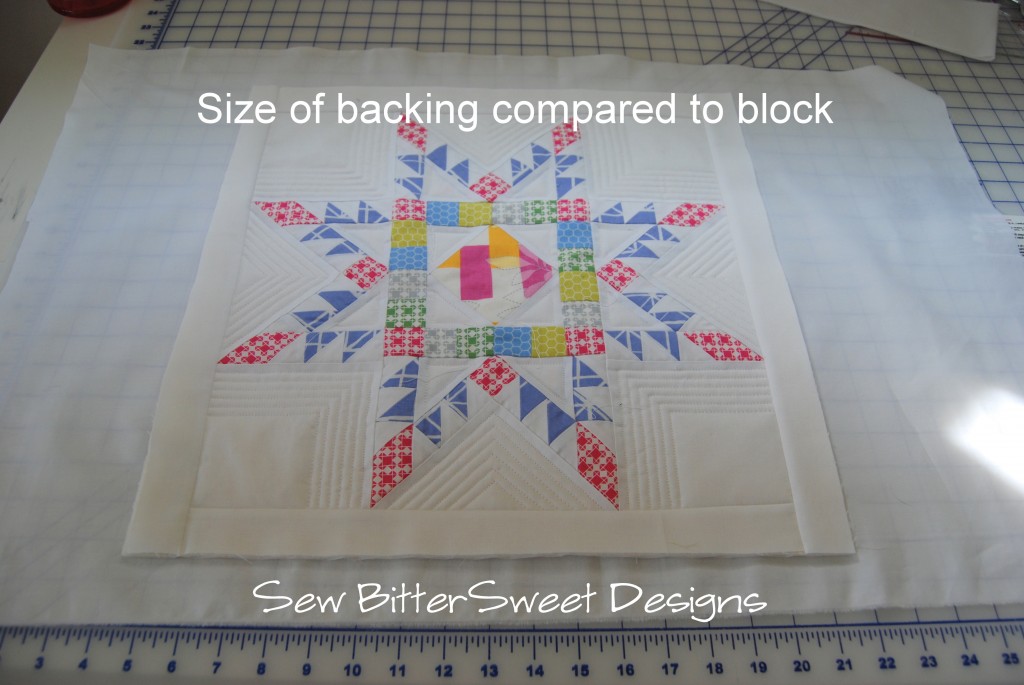
- Pillow form – size will depend on your finished quilt block (my block was 15.5” x 15.5” – I added a 1.5” border all the way around to finish the block out at 17.5” – I bought a 18” pillow form so my pillow would be extra full and squishy.)
Let’s Get Sewing!
Step 1: Baste your quilt block – this project is so small that I decided to pin baste my block. 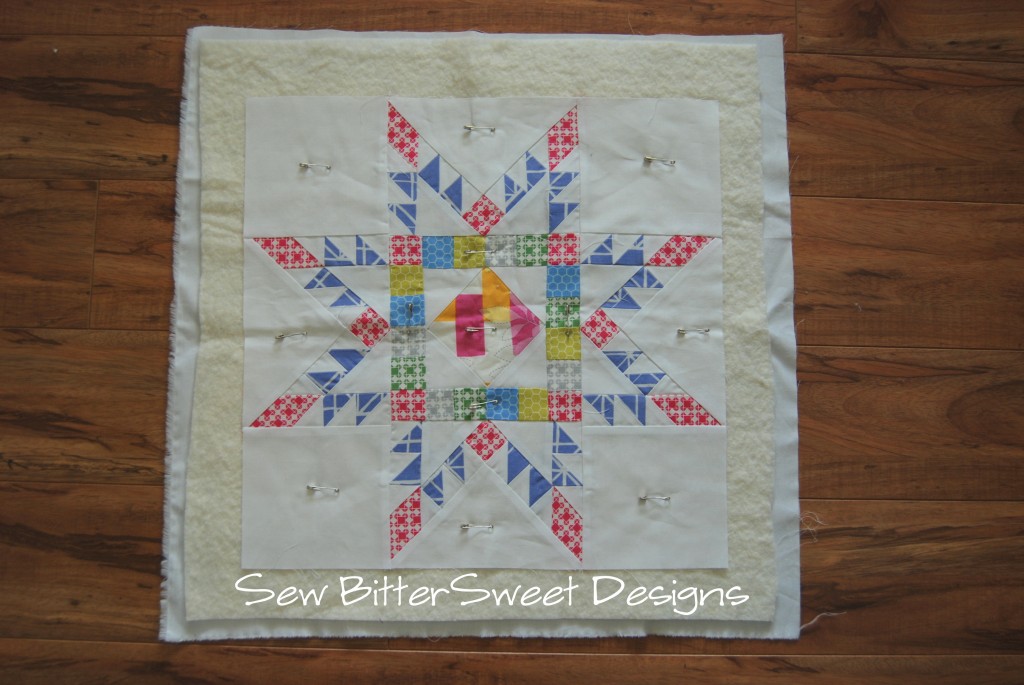
Step 2: Quilt your block to your heart’s content.
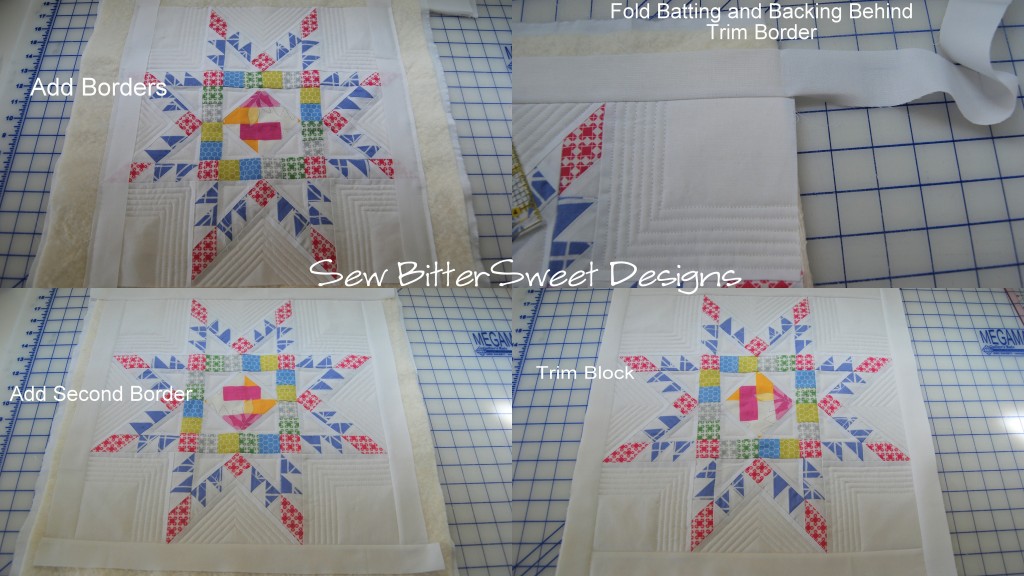
 Step 3: Add your borders – I added mine to the block after I finished the quilting
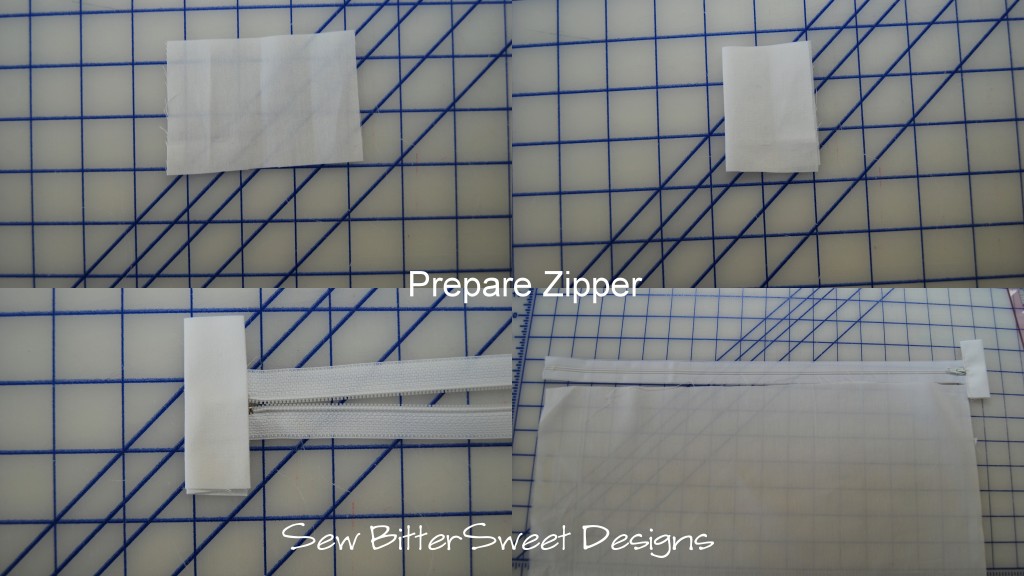
Step 4: Prepare Zipper
Step 5: Prep Backing fabric – mine was significantly larger than my quilted piece. I cut it to be as wide as the block – in my case 17.5” wide and then I cut it in half, not worrying about the length yet, you will trim the whole backing down to size after you have installed the zipper.
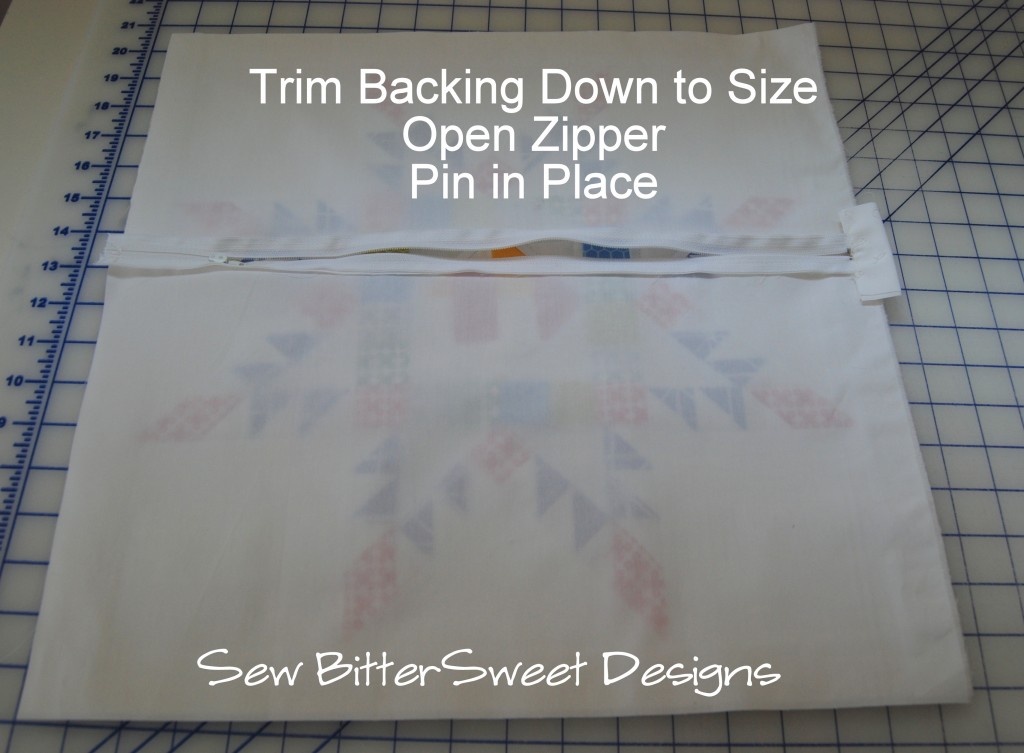
Step 6: Trim backing down to same size as quilt block – make sure you OPEN the zipper!!!
Step 7: Pin and all the way around and sew using ¼” seam, trim corners
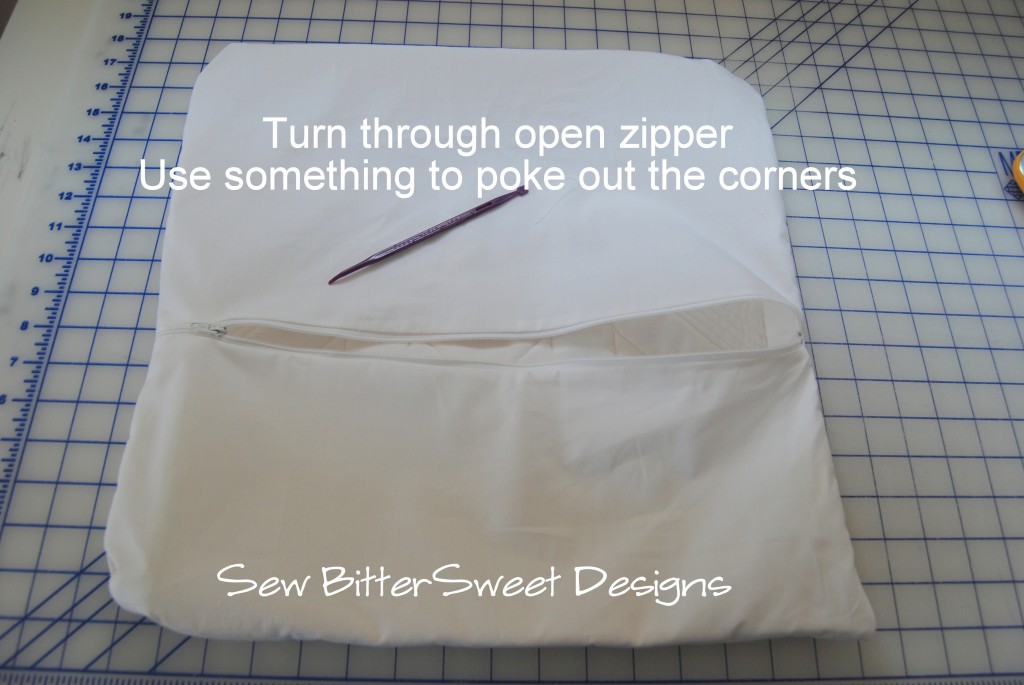
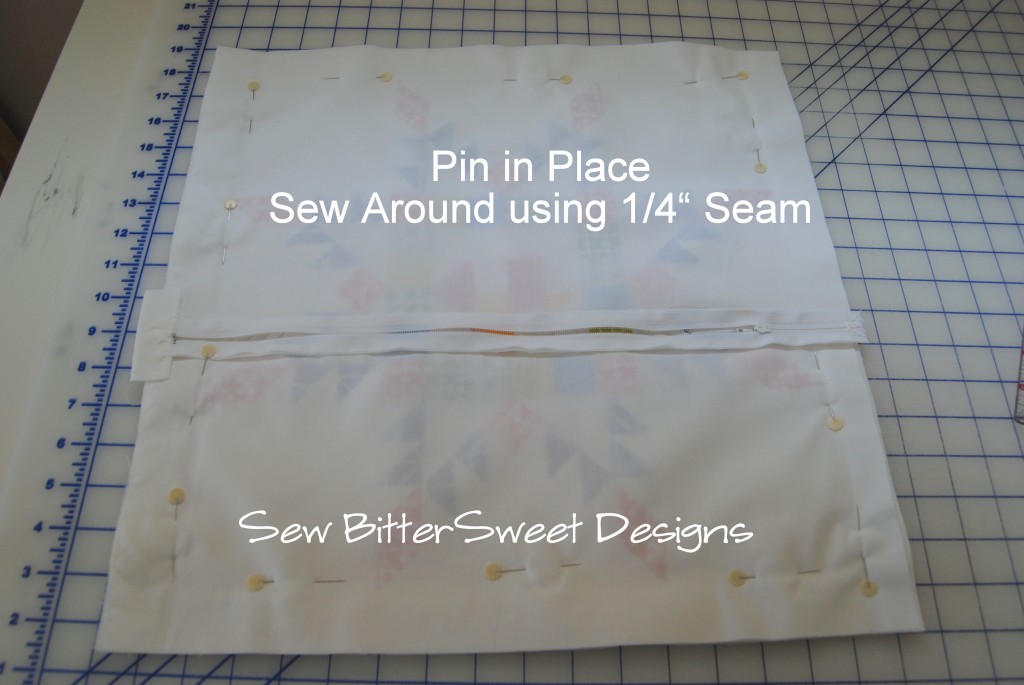 Step 8: Turn Through the zipper and use something to push out the corners – I used my purple thang, but almost anything will work!
Step 9: Insert the pillow form, zip and enjoy!!!
Have fun with your Holiday Sewing!

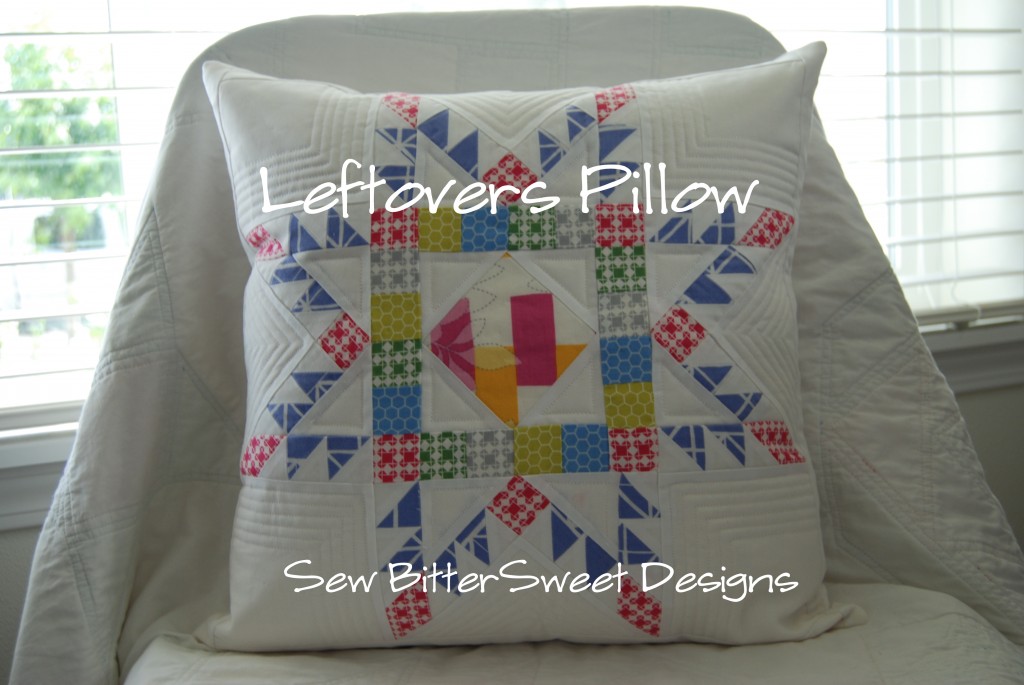

I love this pillow! It’s one of my favorites!
Love the pillow – what a fun idea! =)
I remember this pillow and LOVE IT!
OPPS! meant to also say it is such a sweet design, love the colors, etc.
Great pillow! I really like the quilting!
Gorgeous pillow, girl! You sure can rock some left-overs! 🙂
I love this pillow! Totally doing it with some spare blocks! 🙂
This is gorgeous! I call my leftover’s ‘Orphan Blocks’ and I like to make owls and elephants from them 🙂 May have to make a pillow or two now 😉
This is so pretty with the white and pastels! Great pillow
Good time to repost, indeed! Those people we forgot to put on the list are now covered. =)