And by hookers, I am of course referring to those of you who CROCHET!
Stand up and testify: “I, Melissa D, am a hooker”. I say it with pride. My grandma taught me how to crochet when I was 7 years old. The first thing I ever made was a pot holder and it can’t hold a candle to the one my grandmother made that day (I have both). When she passed on I inherited all of her crochet hooks, plus all the hooks from a dear friend of hers. Now those hooks in addition to the ones I already had…well it was like my hook collection had followed the Lord’s Command “be fruitful and multiply”.
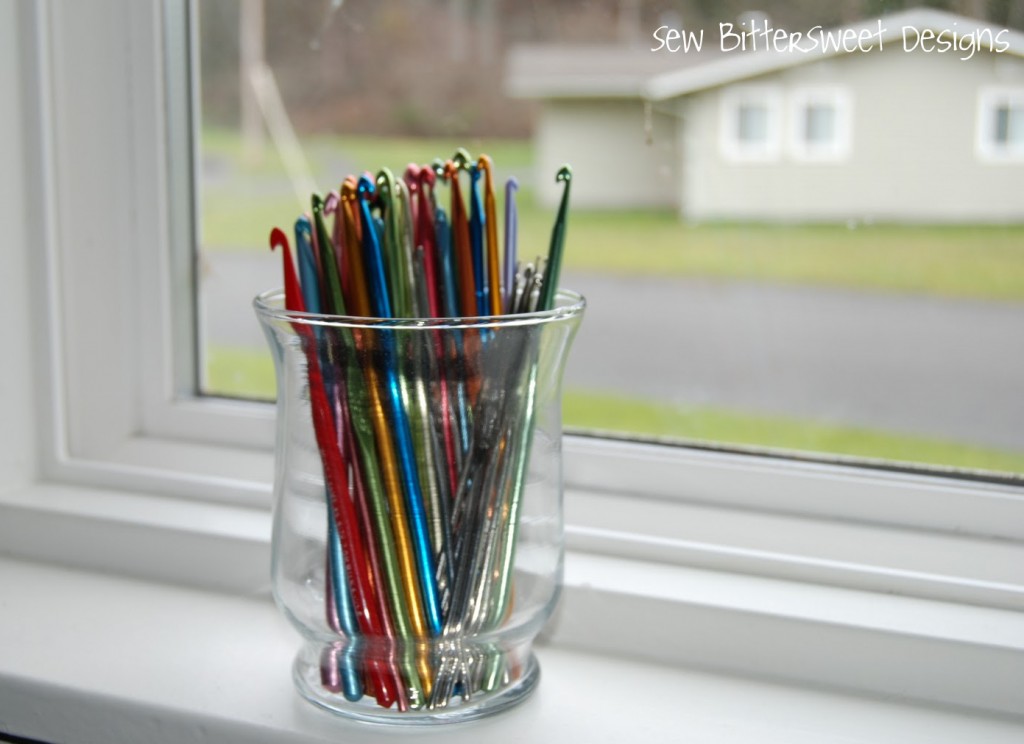
I have been storing them in this cute little vase, but it isn’t so convenient when I’m traveling, so I decided to whip myself up a pretty carrying case!
Learn how to make it after the jump!
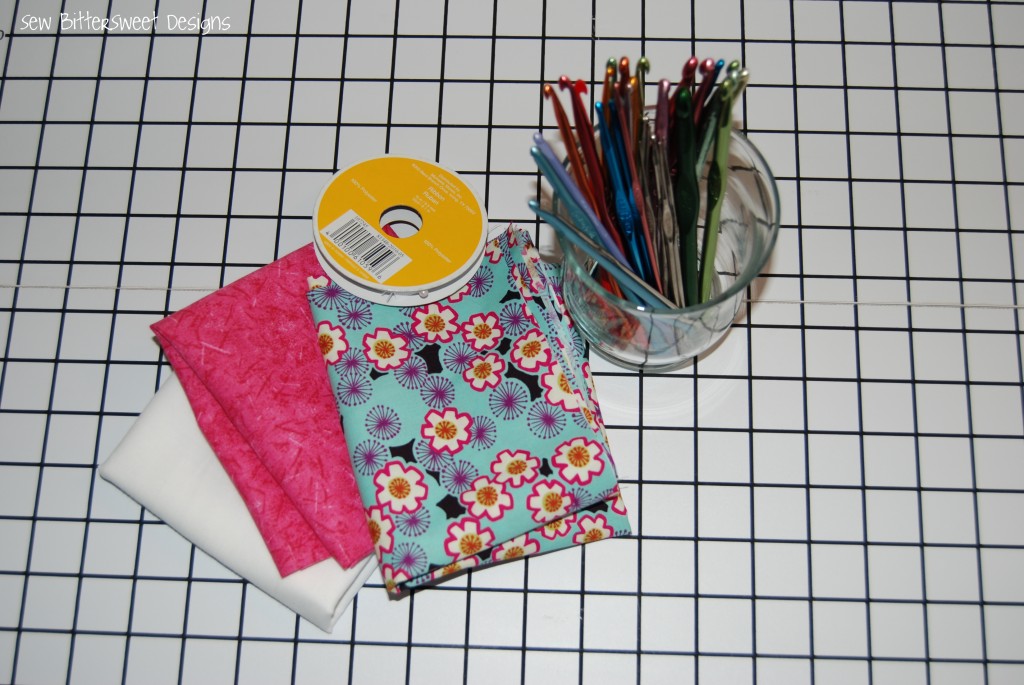
What you need:
- Two fat quarters in pretty coordinating colors, I used “Luca” by Alexander Henry, and a coordinating pink.
- Fabric for binding
- Ribbon for tying – two pieces – 16.5 inches ea
Not Pictured:
- Sewing machine
- pins
- Measuring tape
- Fabric marker or pencil
- 6.5×6.5 inch cutting ruler
- Batting – cut to 8 by 18 inches
- pretty thread for quilting
- binder clips
- needle and thread for hand sewing
Step One: Cut your fabric
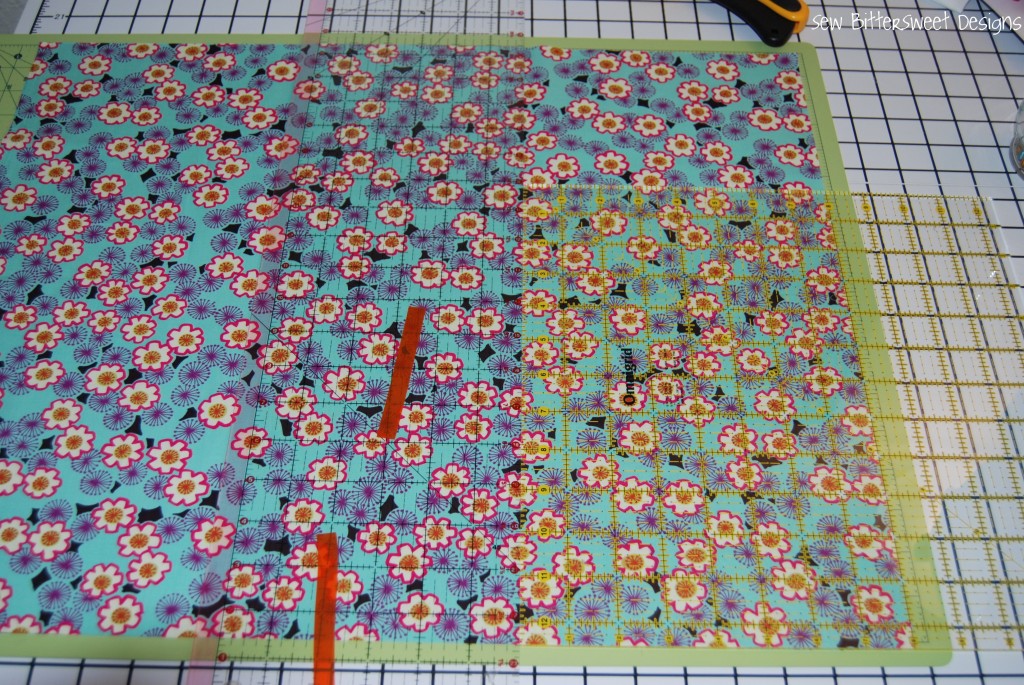 |
| Two pieces – 8×18 inches each |
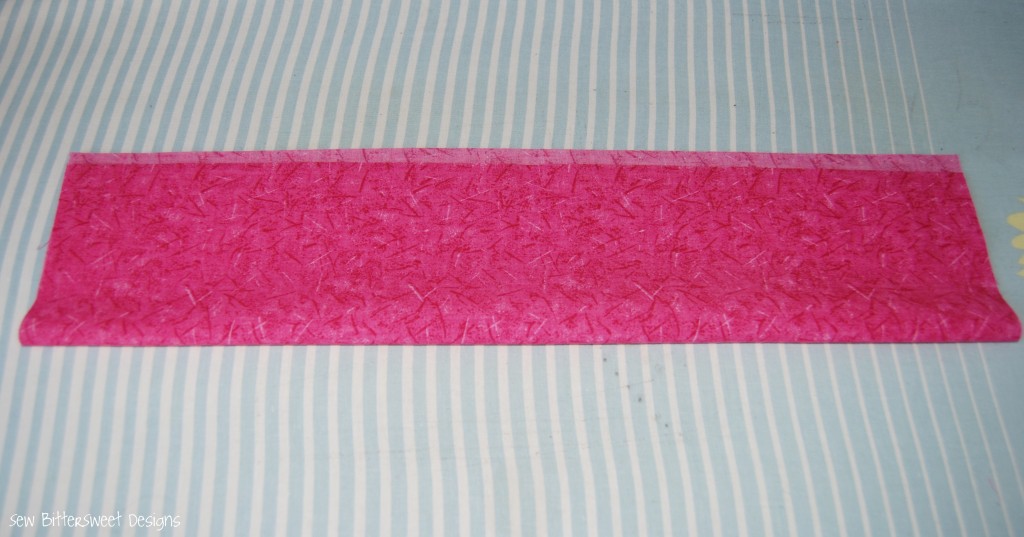 |
| 1 piece – 9 by 18 of coordinating fabric – you will fold this piece in half |
Step 2: Fold the coordinating piece in half – Iron. Then make a sandwich out of all your layers. The layers should look like this:
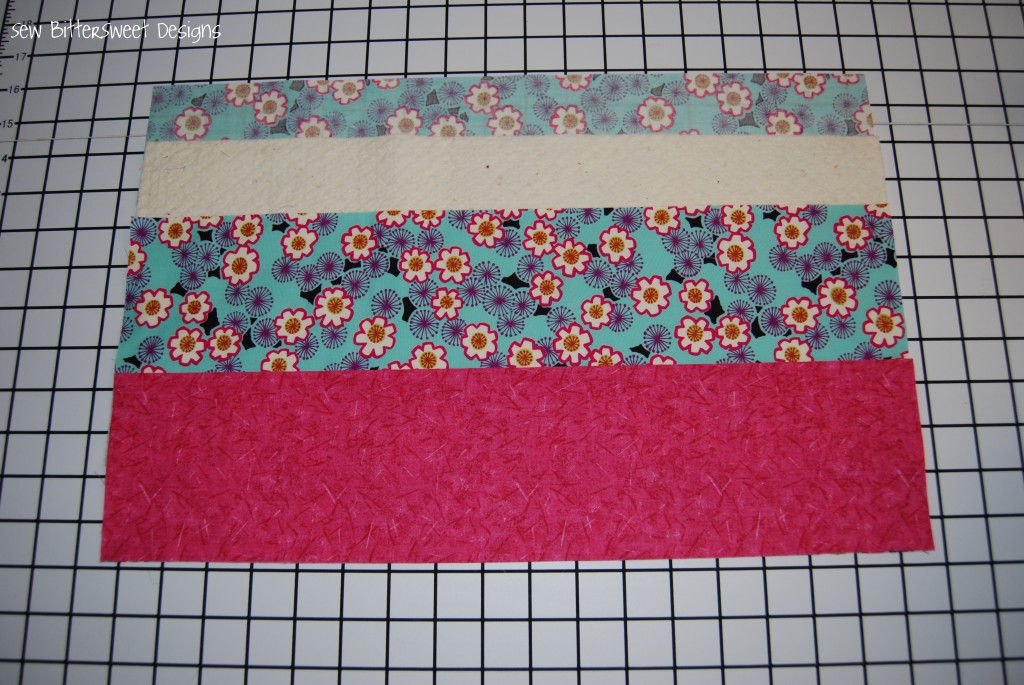 |
|
|
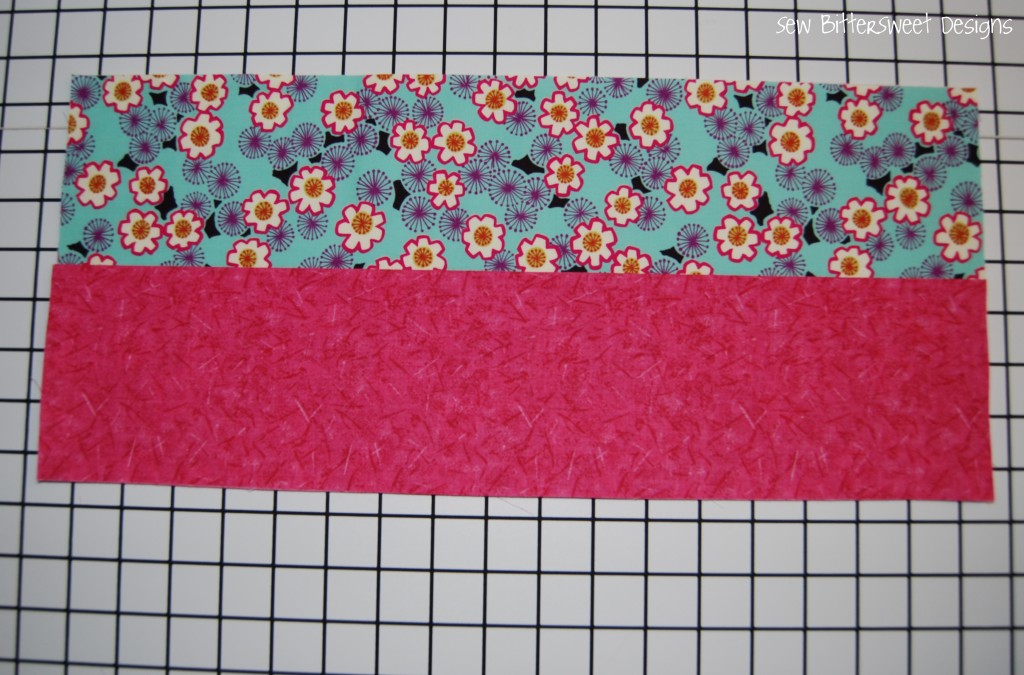 |
| One small fabric sandwich |
Step 3: Pin all the layers together, sew around the outside using a 1/8 inch seam allowance
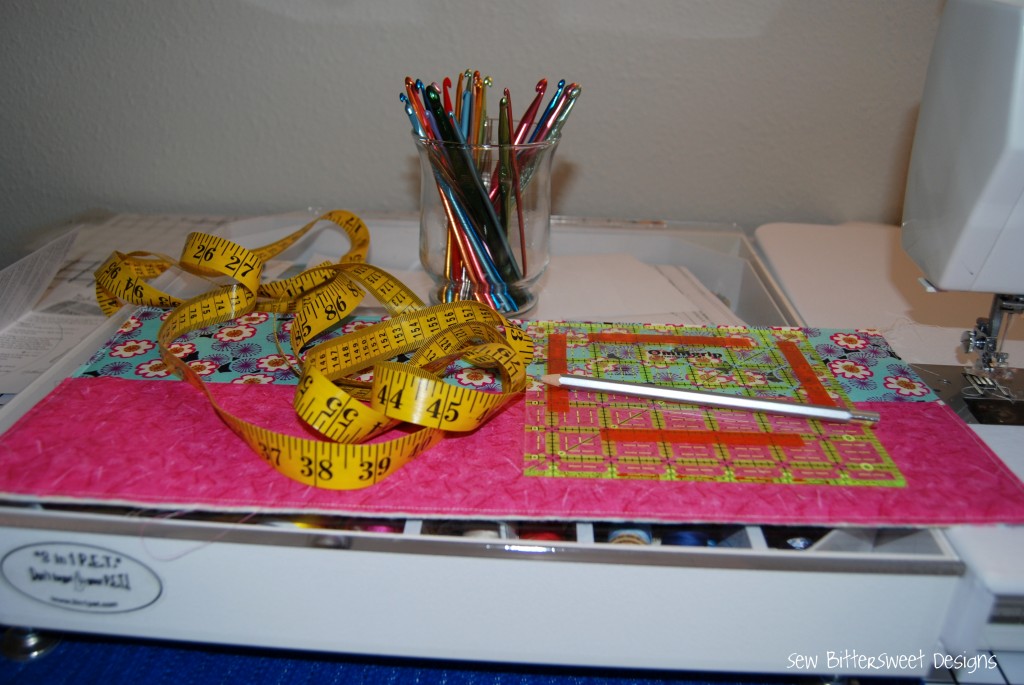
Step 4: Bust out your measuring tape, fabric pen/pencil, and cutting ruler. Time to measure. My first line was 1.25 inch from the left edge – for some reason my grandma had a size N hook (BIG!). The rest were all 1 inch apart.
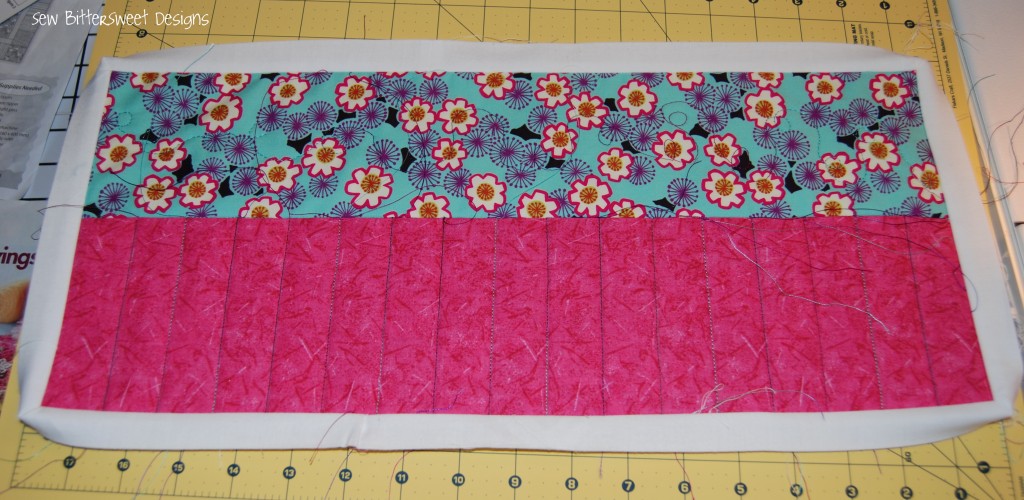
Step 5: Starting from the bottom and going up sew on your lines. I used my handy dandy Janome Clear View Quilting Foot and Guide Set. See a review at the Janome Sew4Home blog.
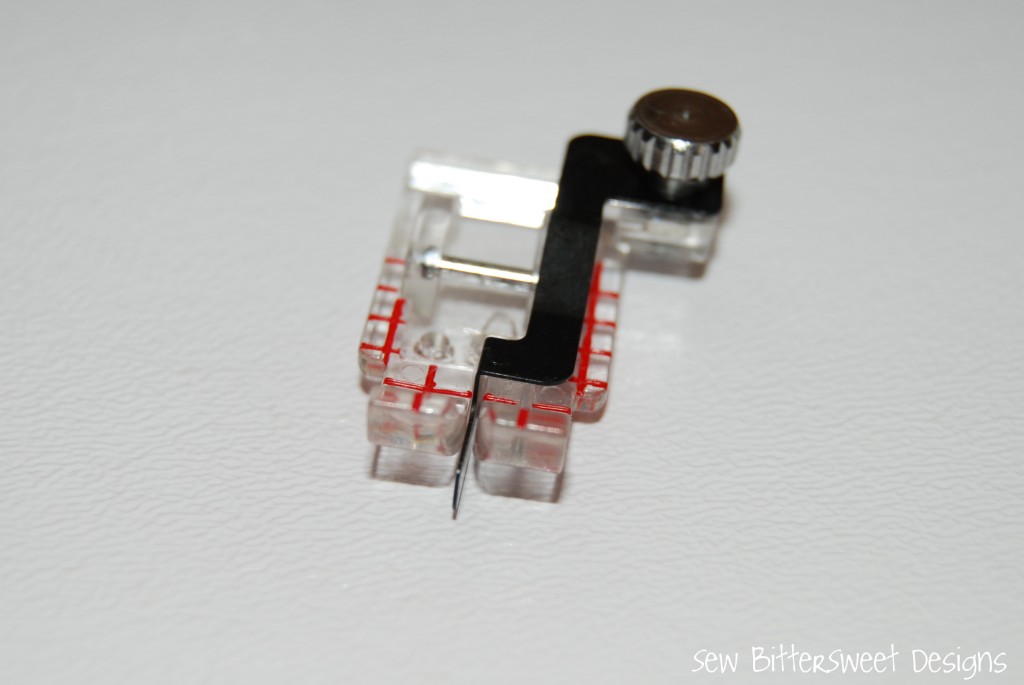 |
| All I have to do is follow my line with the guide! |
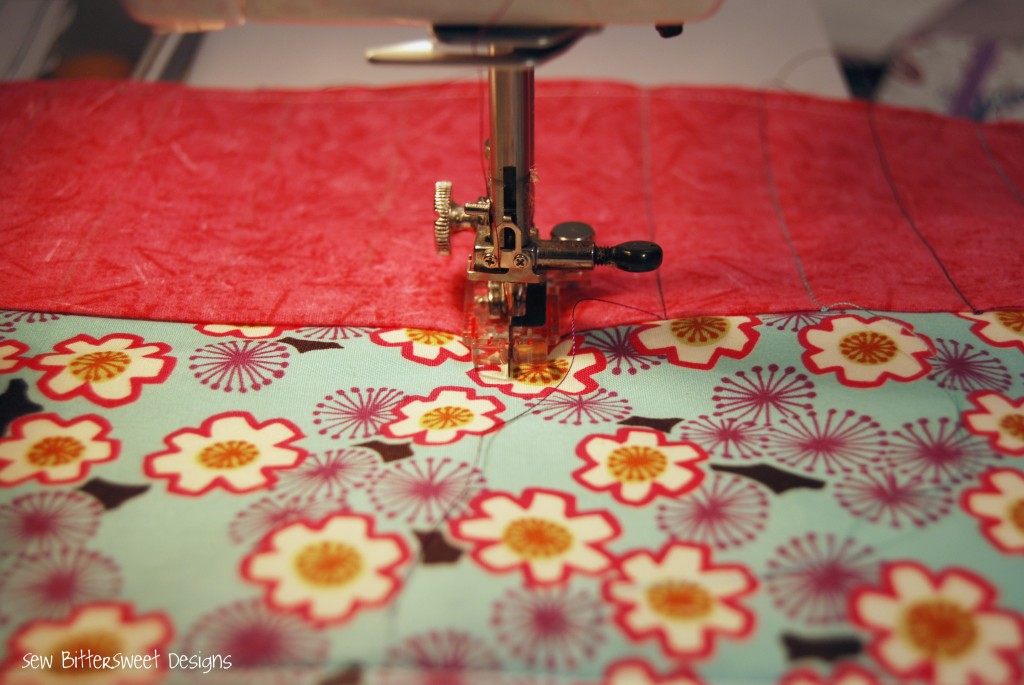 |
| Folly the Yellow Brick Road, Follow the Yellow Brick Road |
Step 6: Cut out your binding and sew it on.
Steps 1-6 take less than an hour.
Step 7: is when it starts taking a little time…Hand sew your binding down and sew on your ribbon ties.
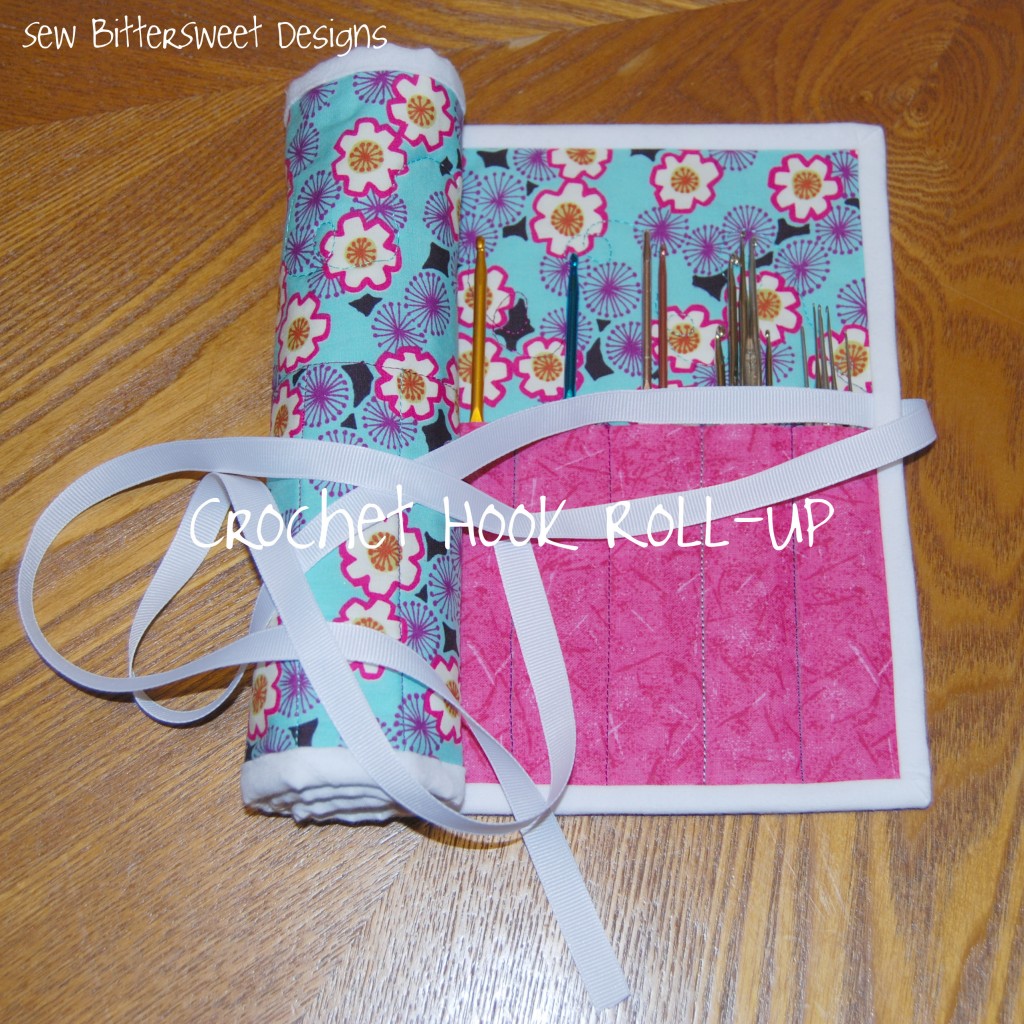
You have now finished your hook holder!
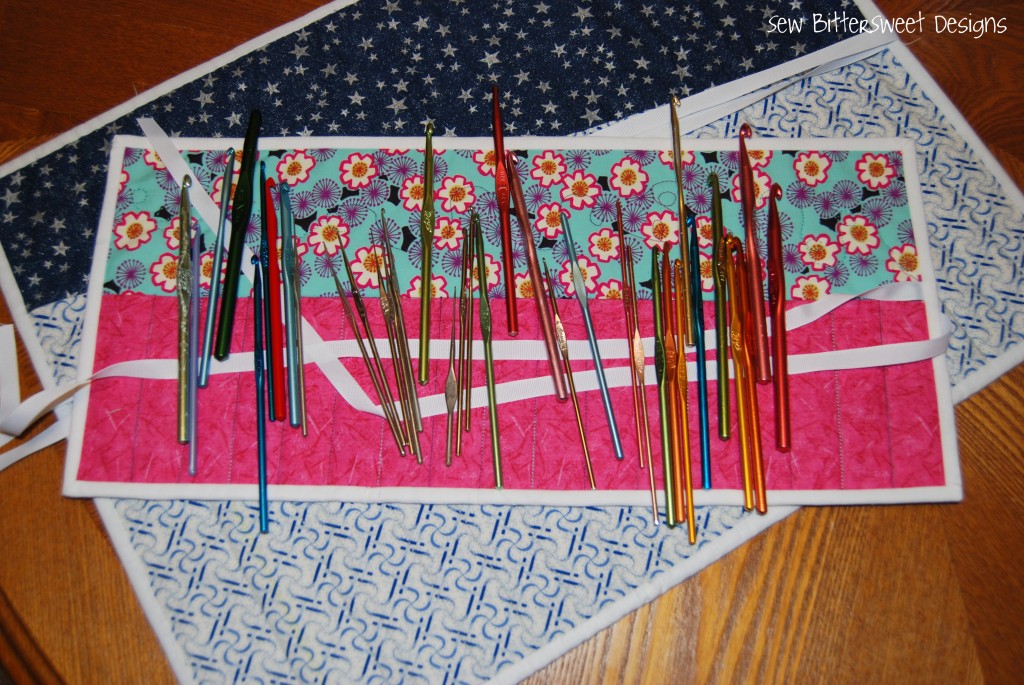 |
| Lay out your hooks |
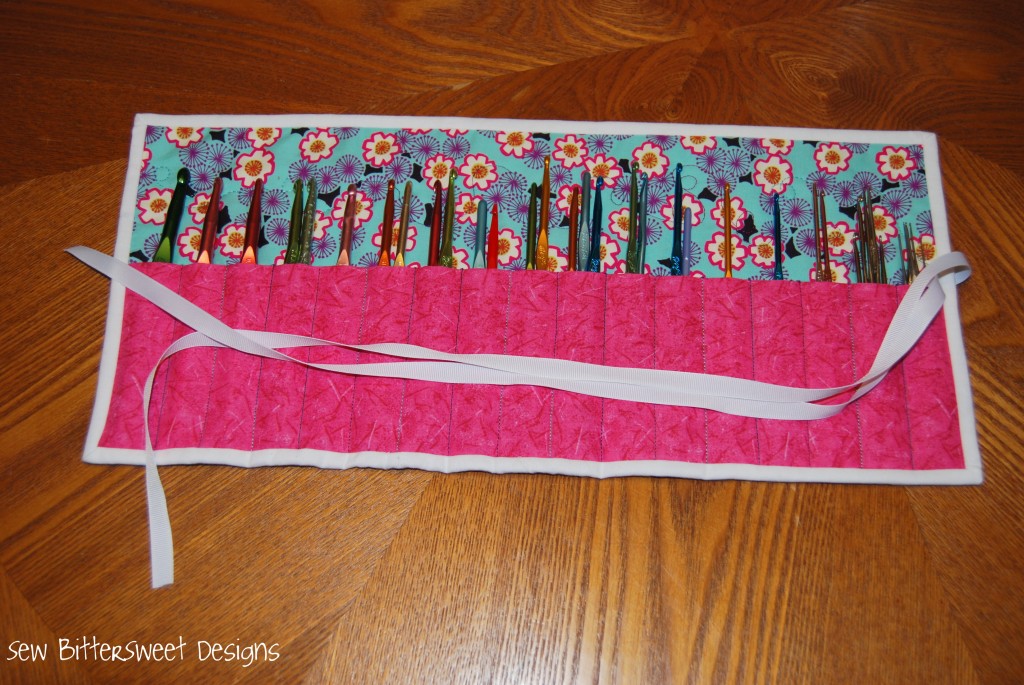 |
| Tuck them all away |
 |
| Roll it up! |
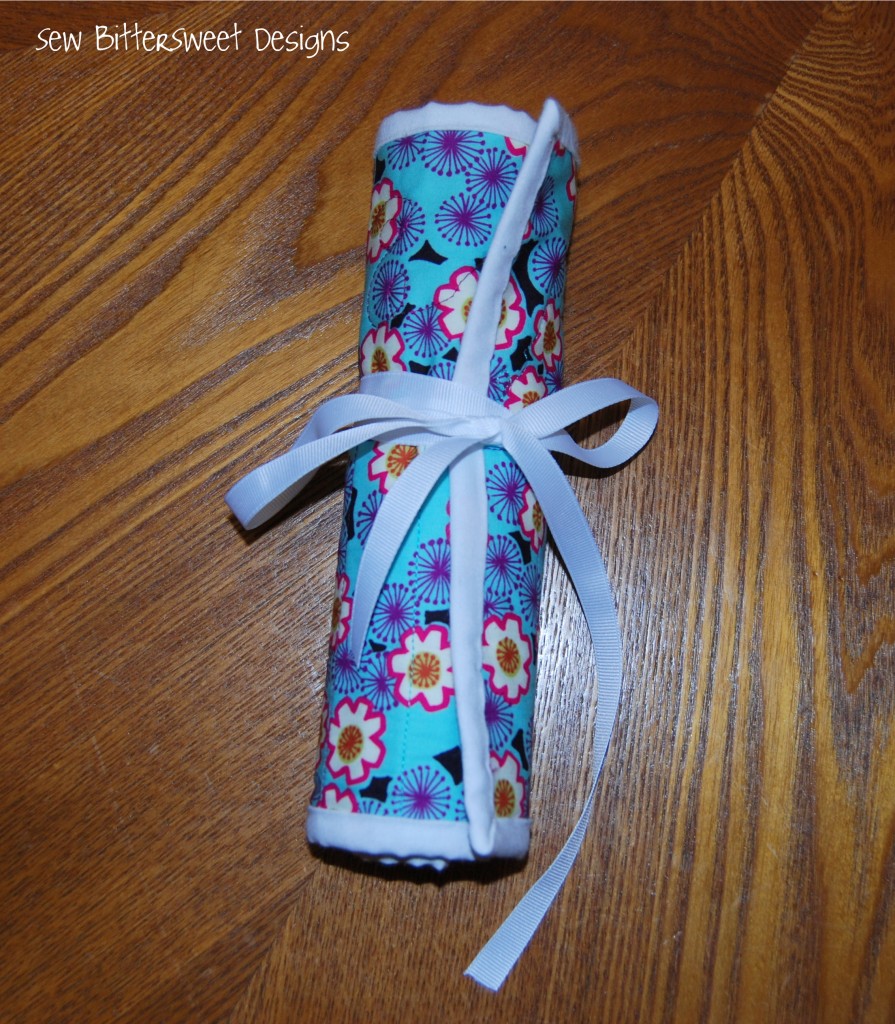 |
| Tie it with a bow! |
If hooking isn’t really your thing and you are more of knitter, check out my tutorial on how to make a knitting needle case!


Love your carrying case for crochet hooks – Thanks for the tutorial!
"Follow the yellow brick road." Hehe. I am going to find all of my rogue hooks and make this case for sure!
Thanks for the tutorial. I love the case. How wonderful to have so many reminders of your dear grandmother.