I am so excited to have the opportunity to review the new 180 Doodle Quilting Designs – Free-Motion Ideas for Blocks, Borders, and Beyond book that Martingale just published! This book is so exciting because there are multiple designers who are all well known for free motion quilting and it shows some of their best designs and has directions for how to do those designs!
The book starts out reminding us of that love of doodling that we all possessed as children and gives great tips and hints on how to improve, or rather revive, your doodling techniques. It also shows how to go from designs in a book, to doodling them yourself to quilting with step by step instructions. Another thing I like is that the book has arrows on each design showing you exactly which direction to go next so that you never have to lift your pencil/needle when making these designs.
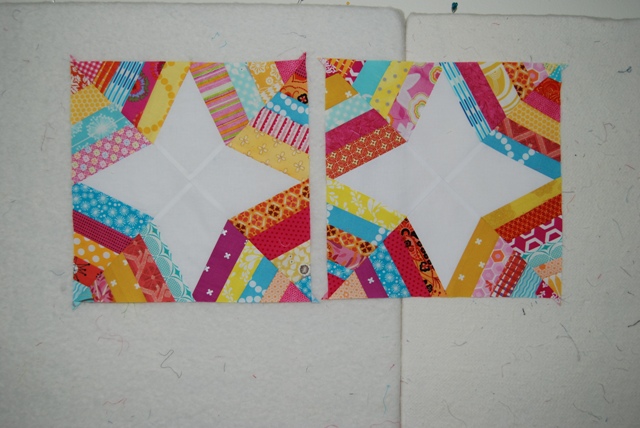
 This is an example of how the designs are presented to you. Three ways showing you how to fill different spaces – triangles, squares and borders. I love how versatile each design is!
On to my top three favorite designs!
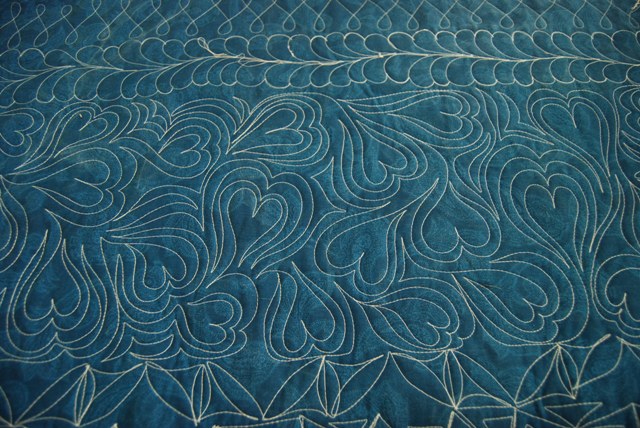
My all time favorite swirl design is in this book! I call the “Vicki Swirls”, in the book they are called “Swirlmania”. Vicki Ruebel of Orchid Owl Quilts shares how to make the design that she is most well known for and let me tell you, they are fantastic. You can see examples of Vicki’s Swirlmania in this post on her blog!
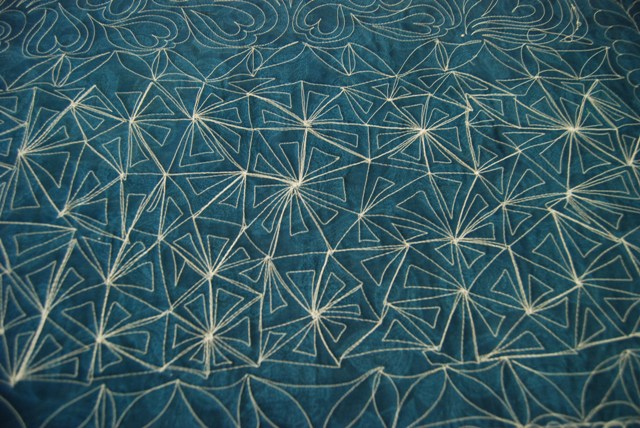
Another favorite design is Spotlight by Sheila Sinclair Snyder of License to Quilt. What I love about this design is the angles and sharp points it creates. Sometimes I want something pointy and angular rather than soft and curvy and this design gives you just that!
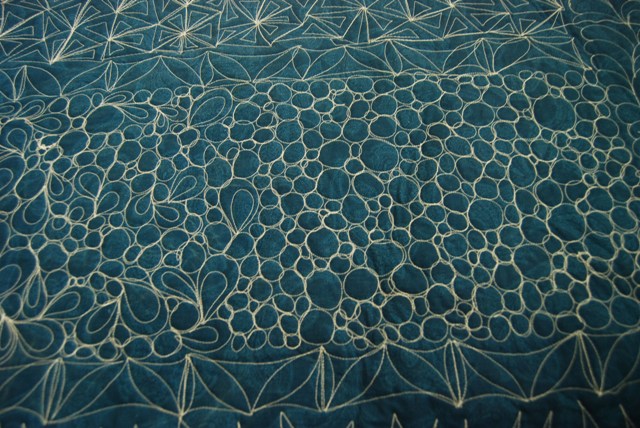
I also fell in love with the Organic Checkerboard design by Maddie Kertay of the BadAss Quilters Society and Spool. This design creates amazing texture and can be done continuously without lots of starts and stops. I am not a fan of burying threads so any design that avoids that circumstance is awesome in my book!
This is one book I would highly recommend for anyone that does free motion quilting, whether on a domestic or a long arm, remember, I did FMQ on a domestic machine for YEARS before I bought my long arm this past March, I can tell you that this will help your skills on both types of machines.
You can purchase 180 Doodle Quilting Designs – Free-Motion Ideas for Blocks, Borders, and Beyond directly from Martingale or any of your other favorite book retailers.
 Disclosure: I was provided with a pdf copy of the book so I could review it, the opinions presented here are my own and have not been reviewed by Martingale prior to publishing this post. I also received no monetary compensation for this post and there are no affiliate links.
Save
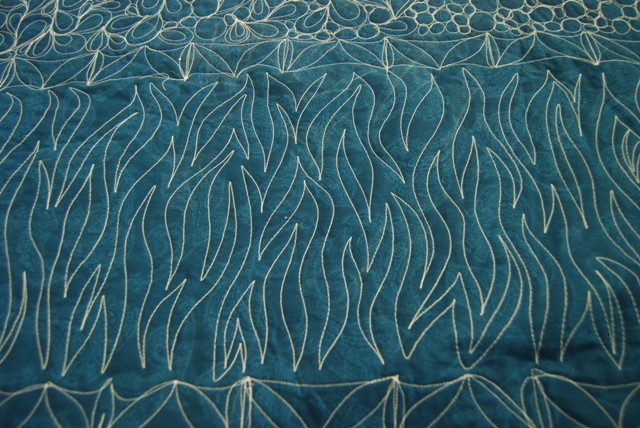
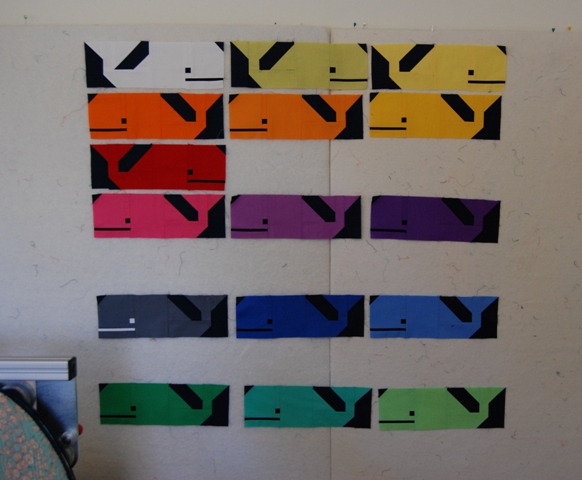 When my whales were combined with my mom’s whales we ended up with a gorgeous baby quilt! The quilt turned out precious and we decided that the quilting needed to add some movement to the quilt. Check out the waves that I added going in opposing directions.
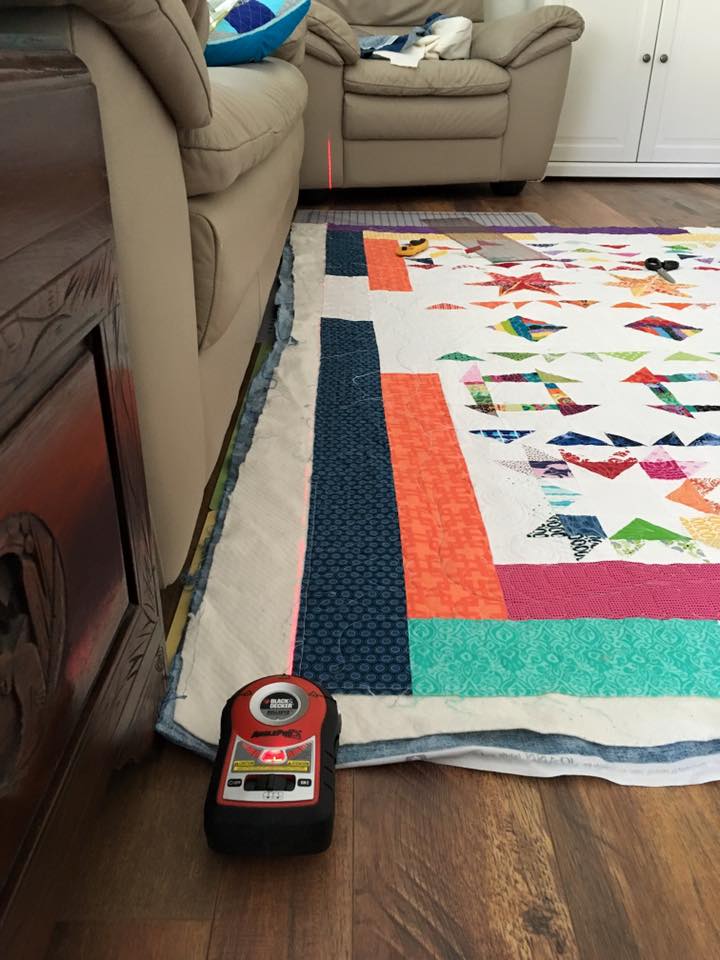
 I did a simple wishbone design in the borders to finish it off. I love how it turned out. This quilt is 45″ x 47″ which means it would fall into the hourly quilting category for my pricing. Please checkout the Long Arm Services tab at the top of my blog to see more about my pricing.
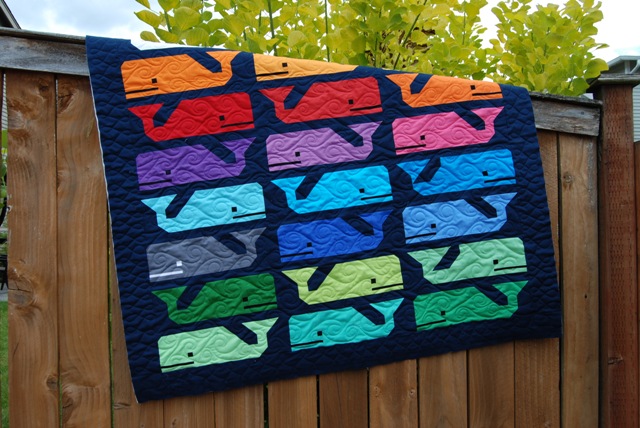 I hope everyone has a lovely weekend and please don’t hesitate to reach out and contact me if you have any questions regarding my pricing and quilting services!